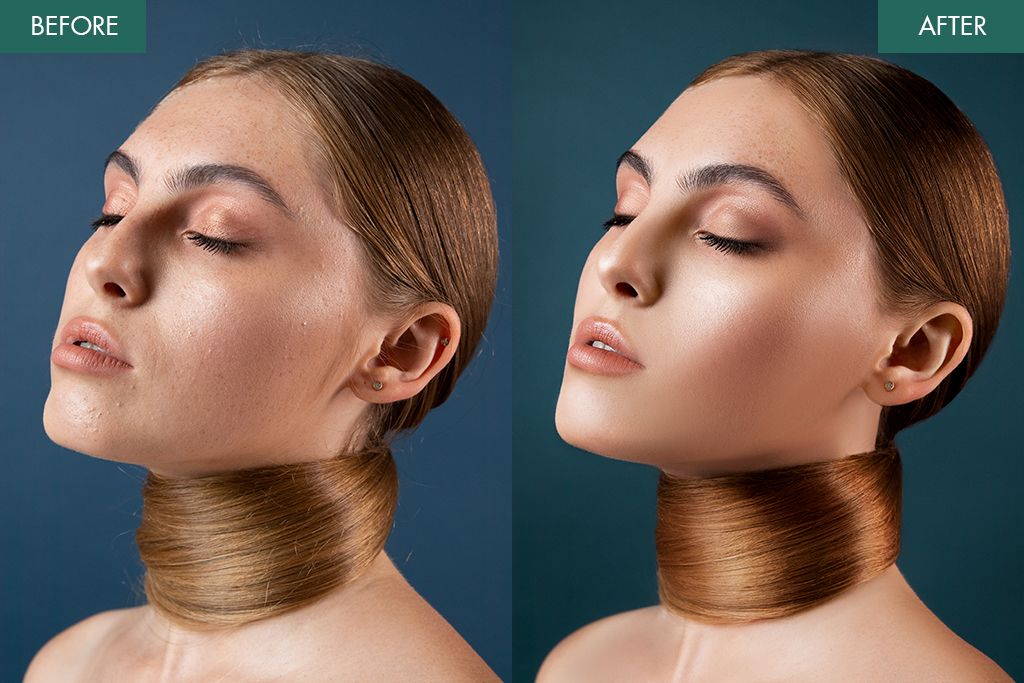
How to Retouch Hair in Photoshop: 4 Methods to Try
Hair retouching is a time-consuming and tiresome process. Every person has different hair, so changing its look in photos requires a keen eye for detail and absolute concentration. Knowing the details of this procedure, WeEdit.Photos retouchers have described several methods of how to edit hair in Photoshop.
Keep in mind that there is no simple method to fix hair in Adobe Photoshop, especially if you want to achieve a flawless result. You need to improve hair by hair manually.
Of course, hair retouch involves lots of steps and you need to consider the hair style while making changes. However, we can roughly list 4 common and most important aspects to concentrate on, while working on hair – remove stray hair, fill voids in hair, remove hair sticking out on the face and get rid of hair sticking out at the edge of the background.
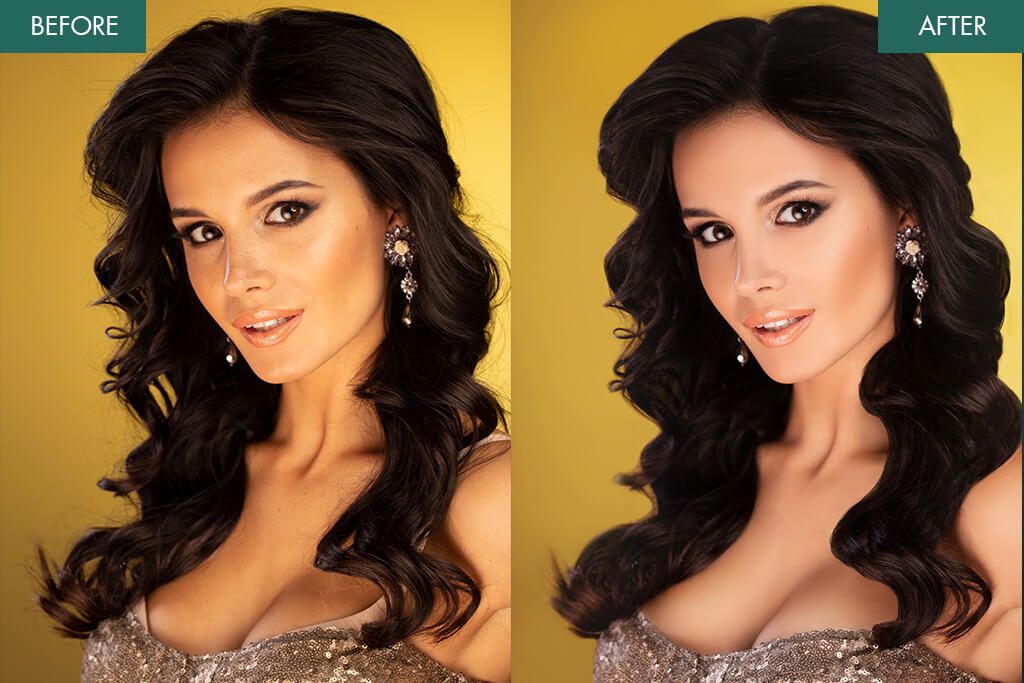
The methods for fixing hair in Photoshop presented below can be considered universal, as they cover those 4 aspects and can be used regardless of the hair style & color. Besides, we will use different images for you to better understand the process.
Method №1 – The Fastest
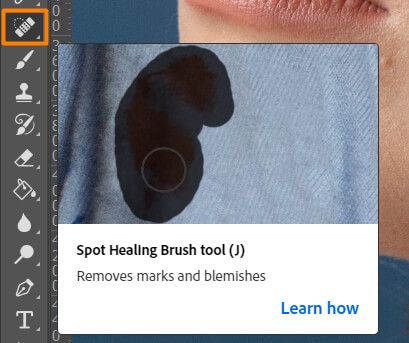
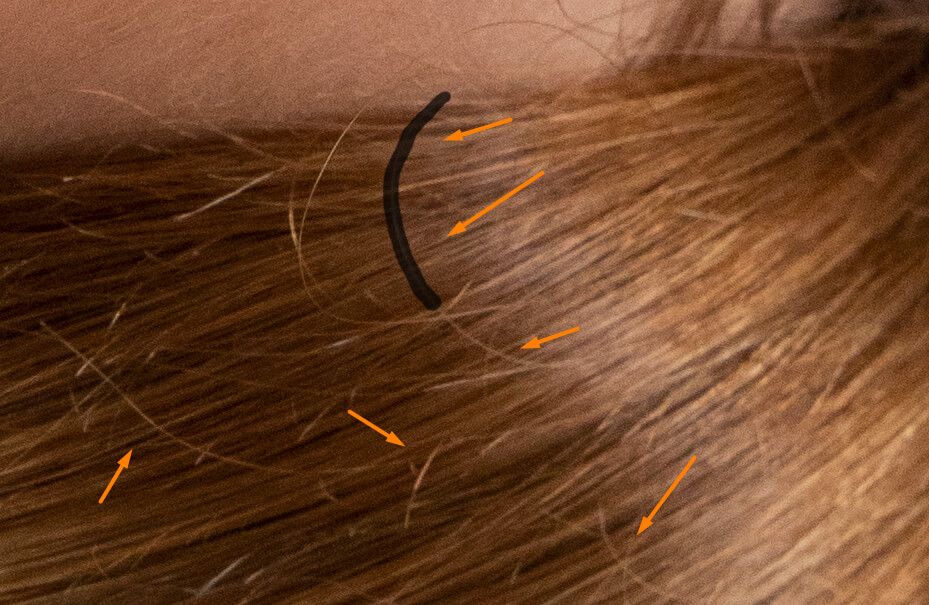
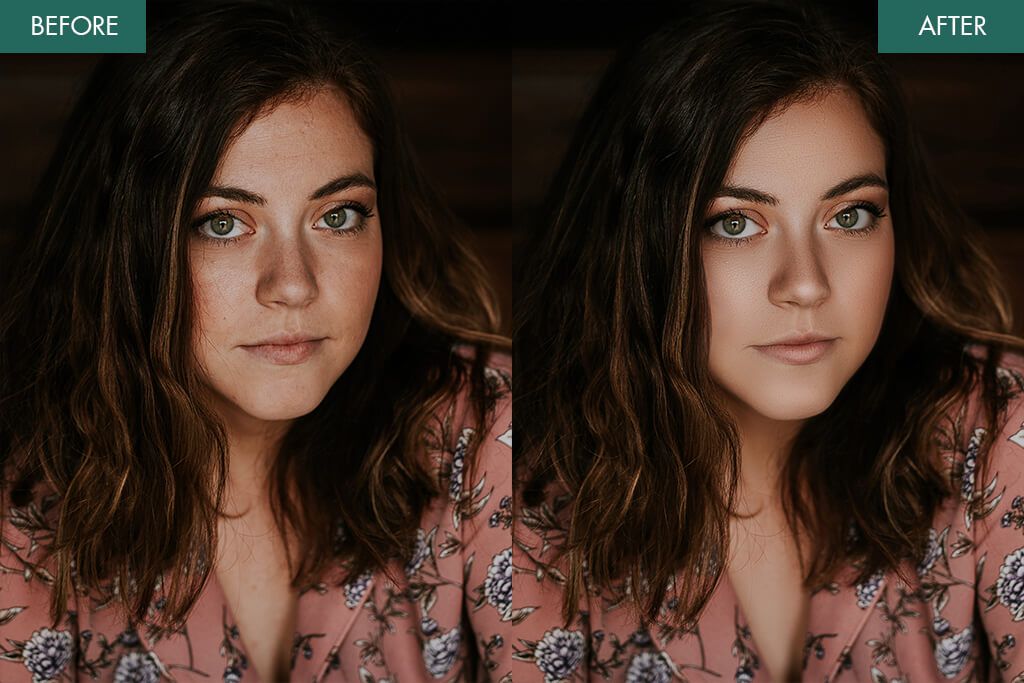
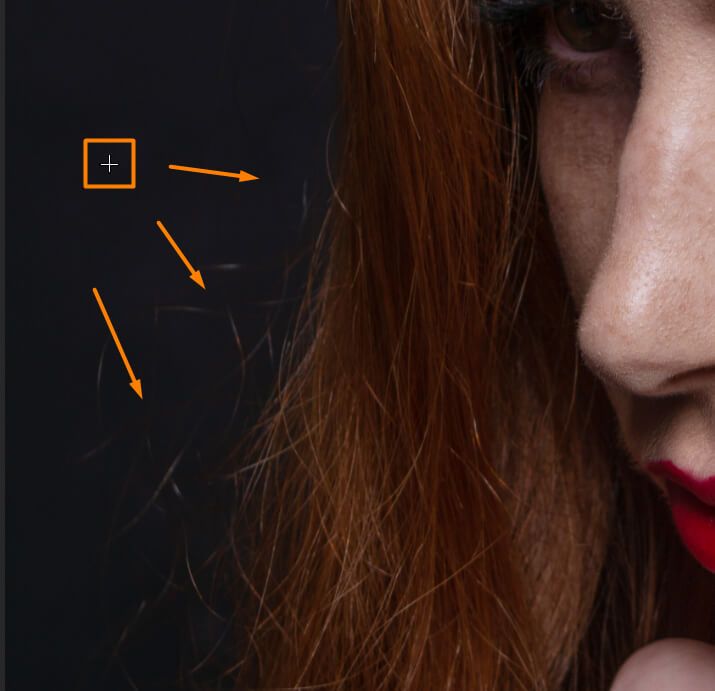
This method works best if you need to get rid of flyaway hair. You need to use the Spot Healing Brush Tool to analyze the area you will work on and determine the most suitable ways to blend the surrounding detail realistically while removing objects.
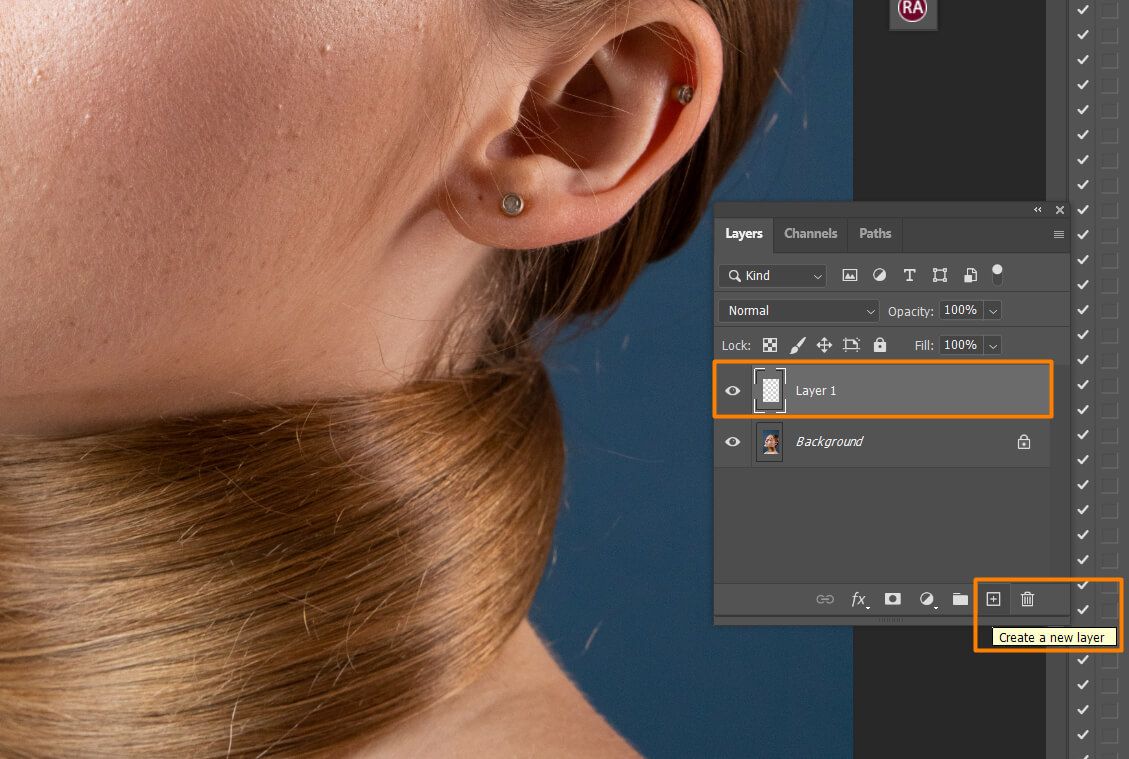
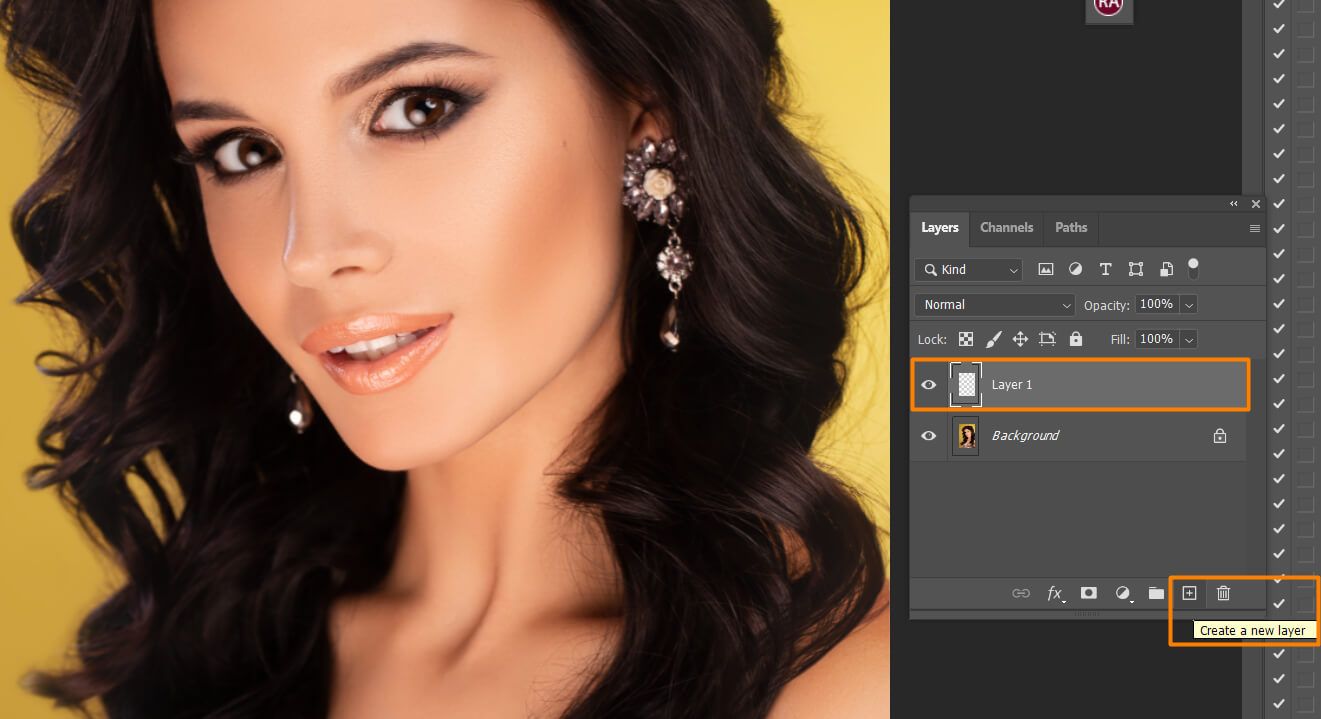
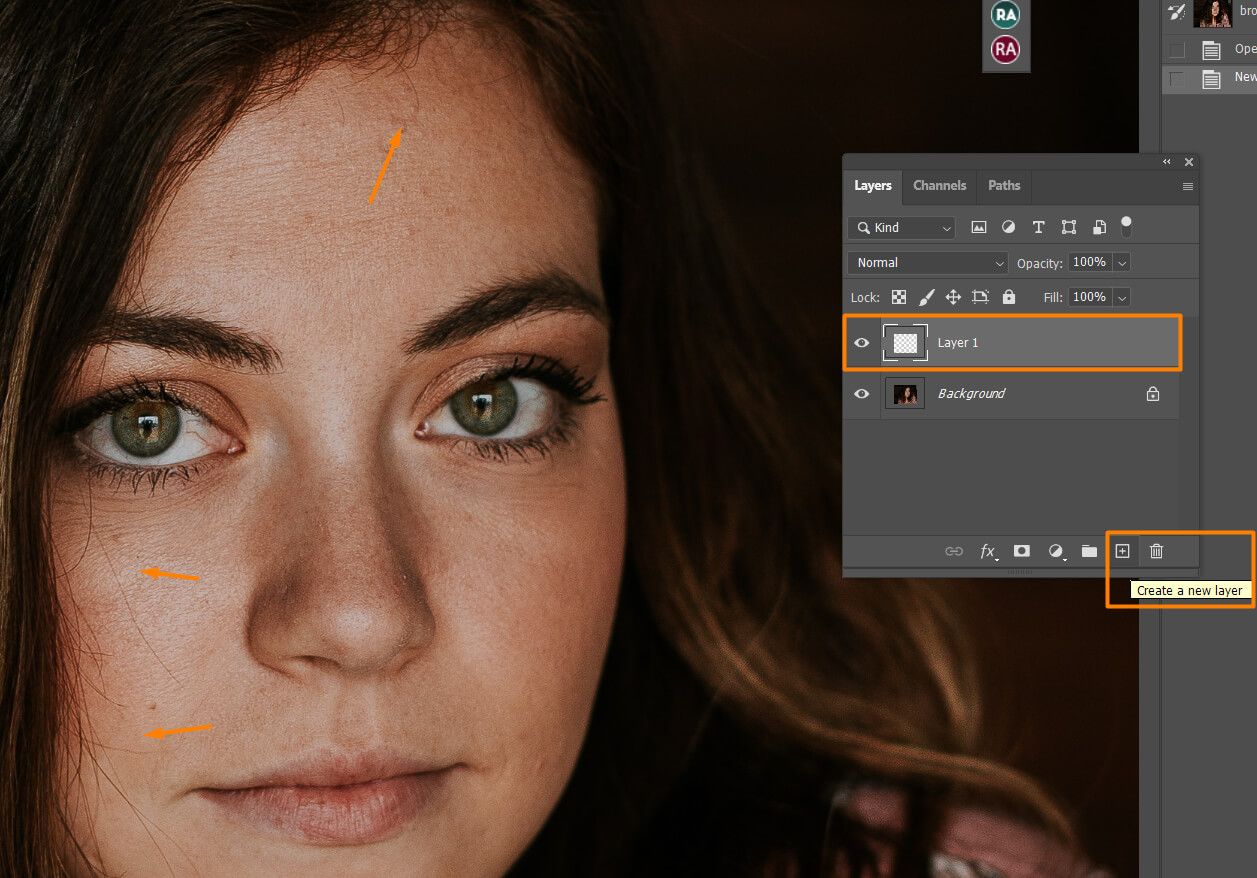
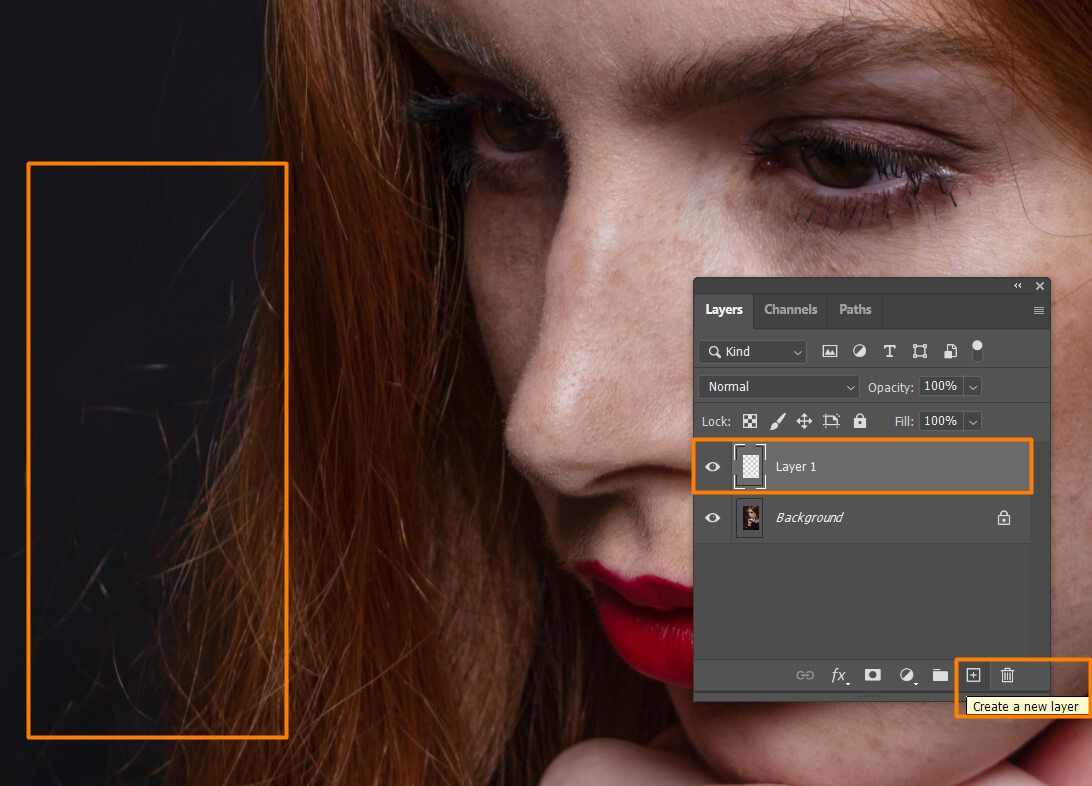
Step 1. Create a new empty layer. We will show this method on straight hair, as flyaway pieces are more noticeable in this case. You can create a new empty layer in two ways: by clicking “Create a New Layer” directly on the layers panel (plus icon) or using the keyboard shortcut – Shift + Ctrl + N. In the first case, the layer is created with default parameters. In the second case, there appears a settings window, where you can set a name, choose a color, transparency, and blend mode.
Step 2. Select the Spot Healing Brush Tool.
Step 3. Use the following settings

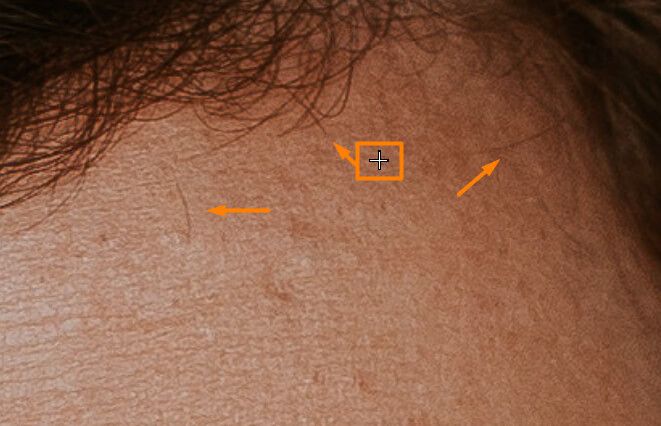
Step 4. Select a hair and brush it over. Do the same for every fly-away hair that sticks out across the main direction of the hair.
Pro Tip: If you notice that the background looks messy, you shouldn’t improve it at this point. You need to concentrate on hair and then proceed with background editing.
Method №2 – The Simplest
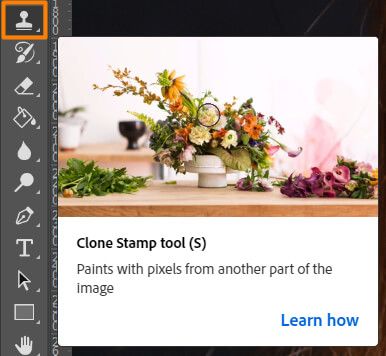
This method involves filling the voids in the hair in Photoshop. In this case, you need to use the Clone Stamp Tool for copying minute details and colors from one area of a photo to another.
Step 1. Create an empty layer. The procedure is identical to what we did in the previous method.
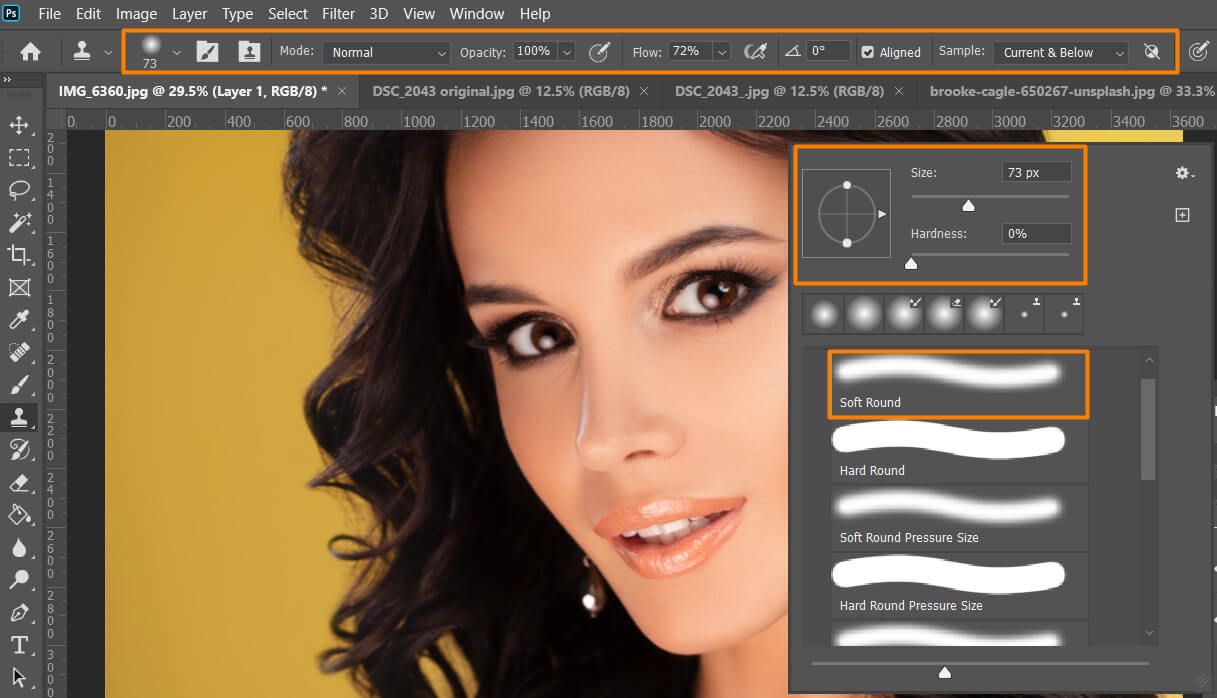
Step 2. Select the Clone Stamp Tool. Click on the brush thumbnail in the top bar and choose a rounded brush.
Step 3. Select a soft brush and customize it as shown in the screenshot.
Step 4. Hold down Alt and select the area from which we will copy a piece of hair. With Alt held down, left-click on the area, and release. After that, start filling the voids in the hair.
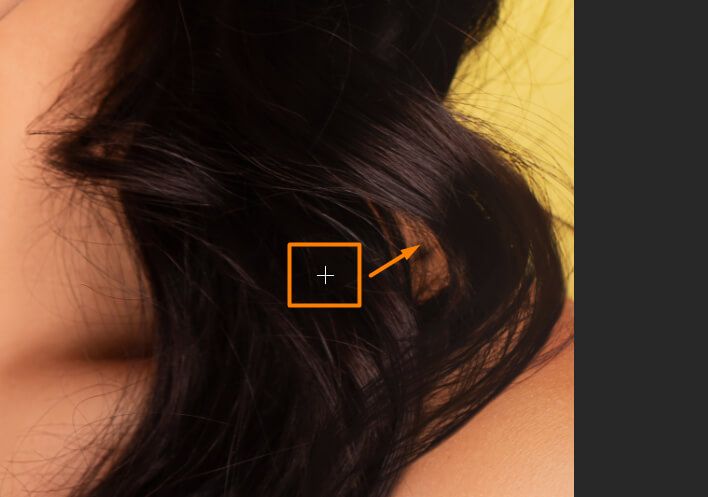
Step 5. Do the same on the other side of the hair.
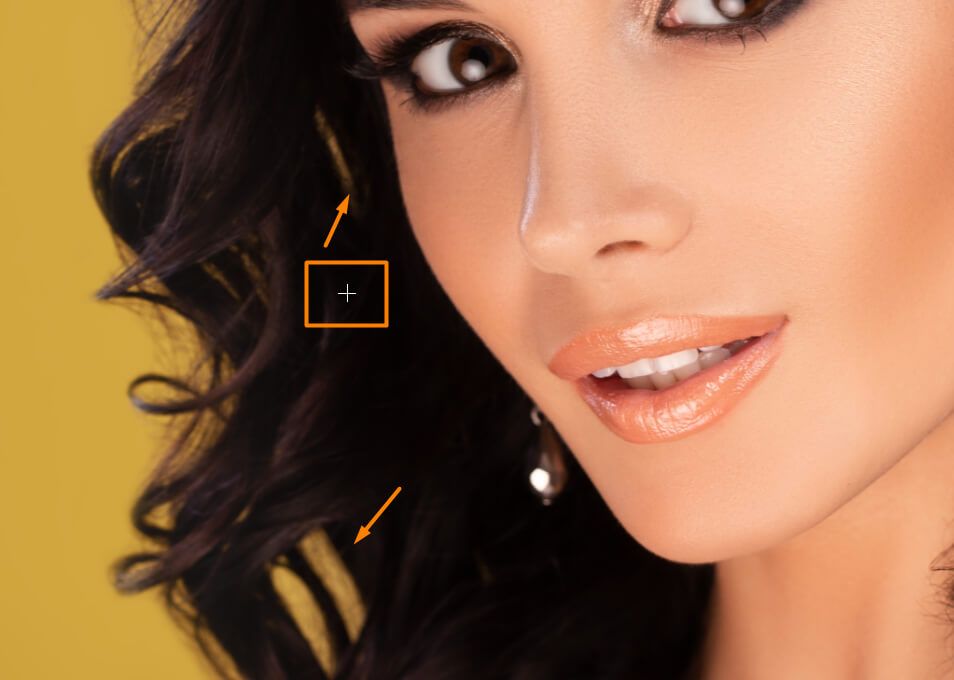
Pro Tip: While fixing hair in this photo editing software, you may need to begin from the Background and then gradually move to the central area of the model’s skin or hair. If you need to fix hair over clothes, treat them as the background and use such a technique for a polished result. It is better to make short strokes.
Method №3 – The Most Efficient
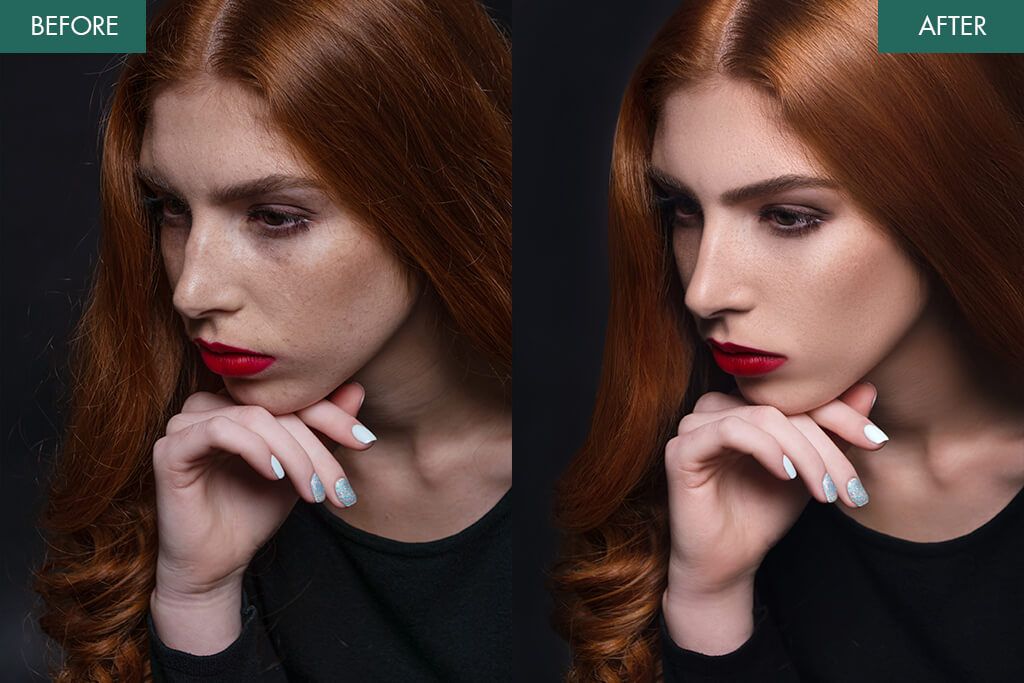
This method of how to retouch hair in Photoshop is suitable if you need to get rid of hair sticking out on the face. The main tool here is Spot Healing Brush.
Step 1. Open a photo in Ps and locate those flyaway hair areas that you want to correct. Create an empty layer, similar to the previous methods.
Step 2. Select the Healing Brush Tool.

Step 3. Use the Following Parameters

Step 4. Hold down Alt and left-click to select the area which will be copied. Release Alt and start drawing over the hair on the face.
Pro Tip: Always follow the hair direction for a better look.
Method №4 – Always the Best Result
If you need to remove hair sticking out at the edge of the background, this technique will work just fine. Similar to the second method, you’ll use the Clone Stamp Tool.
Step 1. Create a new empty layer.
Step 2. Select the Clone Stamp Tool.
Step 3. Use the following settings.

Step 4. Hold down Alt and select the area from which we will copy a piece of hair. With Alt held down, left-click on the area, then release, and start drawing over the edge of the hair in the background.
Pro Tip: If you have a smooth solid background, then you can simply take a regular brush and draw a contour with the background color.