- Home
- Services
- Portrait Retouching Services
- Wedding Photo Editing Services
- Color Correction Services
- Glamour Retouching Services
- Photo Retouching Services
- High End Photo Retouching Services
- Background Removal Services
- Photo Correction Services
- Photo Post Processing Services
- Photo Enhancement Services
- Photo Post Production Services
- Photo Culling Services
- Pricing
- Portfolio
- Shop
- Blog
- Login
Pencil vs Camera Ideas Inspired by Ben Heine
-
Juli Allen
-
September 6, 2023

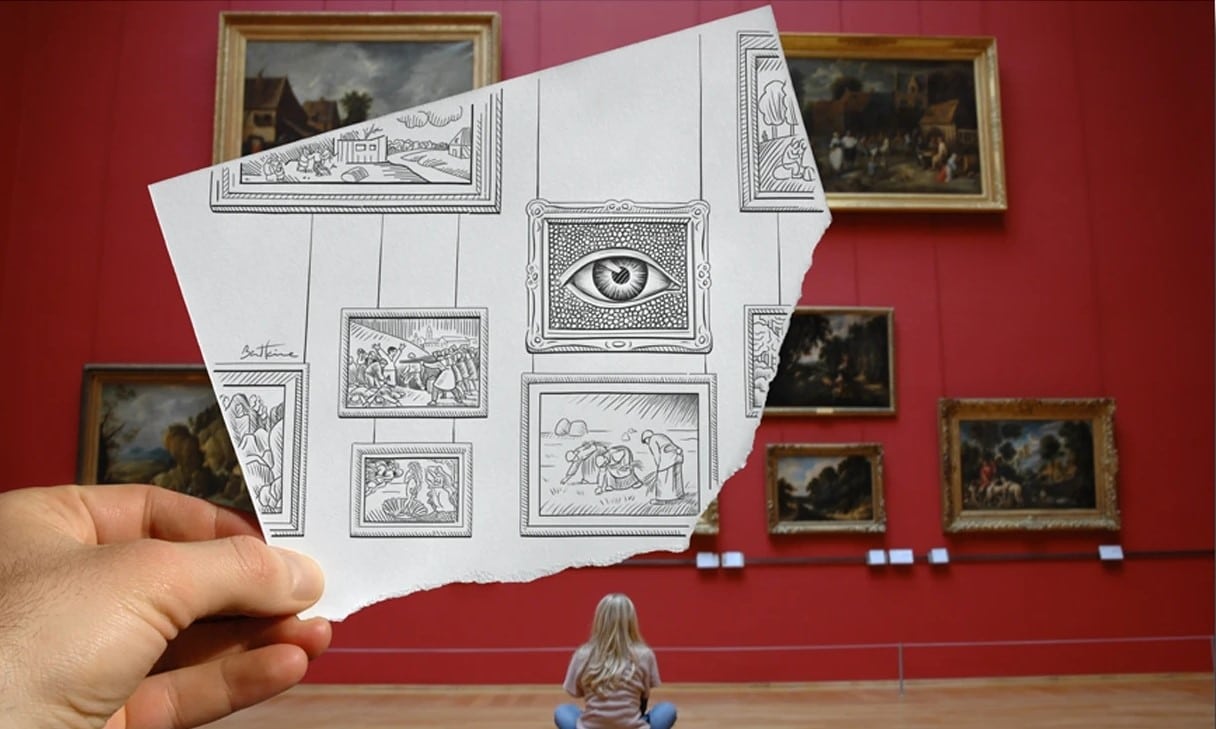
Pencil vs camera is an unusual technique that involves combining drawings and photos. Ben Heine has been using this method since April 2010. He invented it after experimenting with different techniques and trying to express his ideas in a variety of ways. This method requires a creative approach and allows artists to create wonderful illusions and surrealist works.
Instead of simply adding elements to his photos, Heine tries to invent a new reality. When creating his works, he tells stories using graphics and his imagination to create poetic narratives. His photos have an optimistic feel. By combining eye-catching photos with carefully edited sketches, he achieves top-level results that don’t leave anyone indifferent.
Pencil Vs Camera Examples
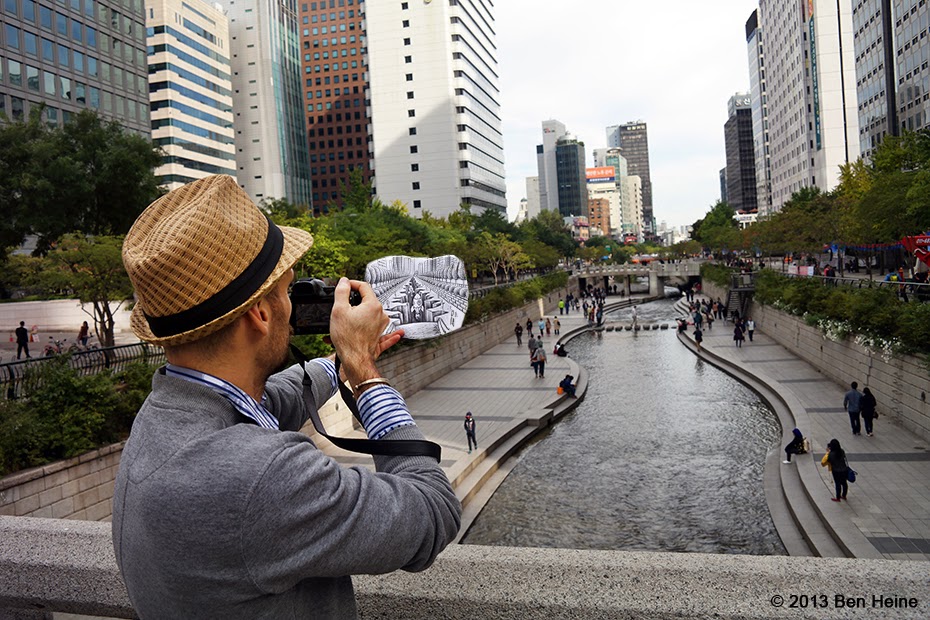
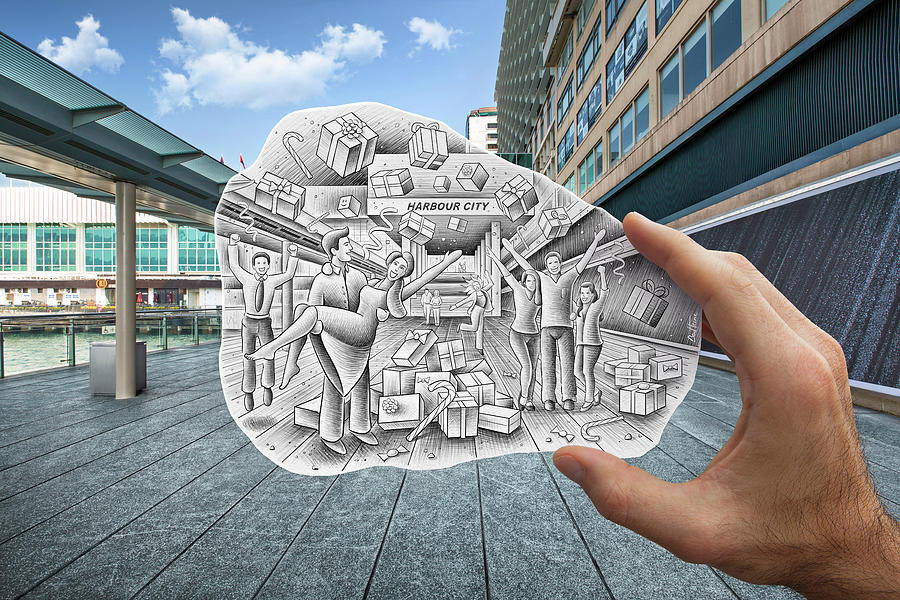
Below, you will find the most attention-grabbing examples of the pencil vs camera technique. There, you will see the hand of the artist holding a picture. It allows him to achieve a more realistic result.
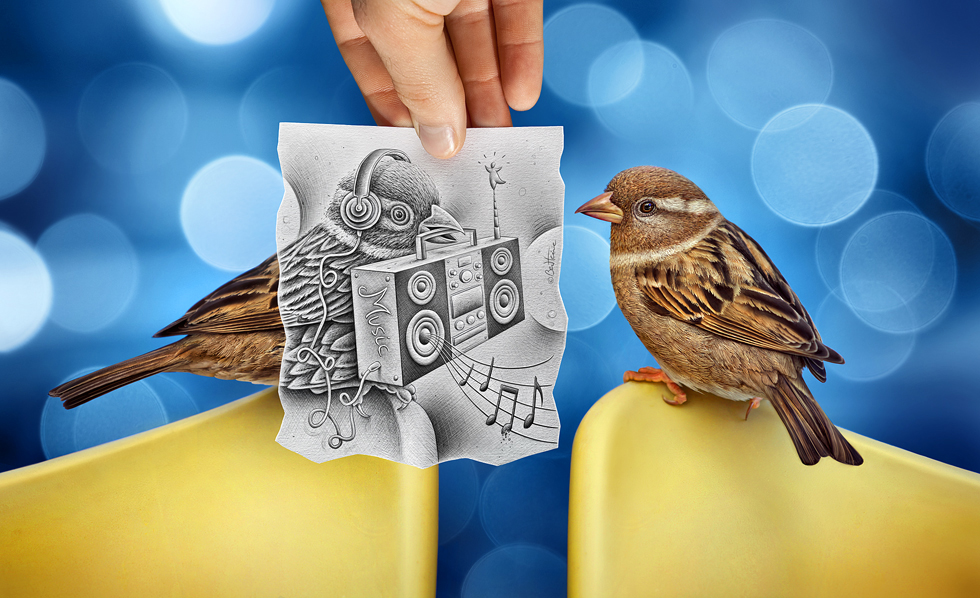
Among the samples of his other works, you will see portraits, photos of nature, and buildings.
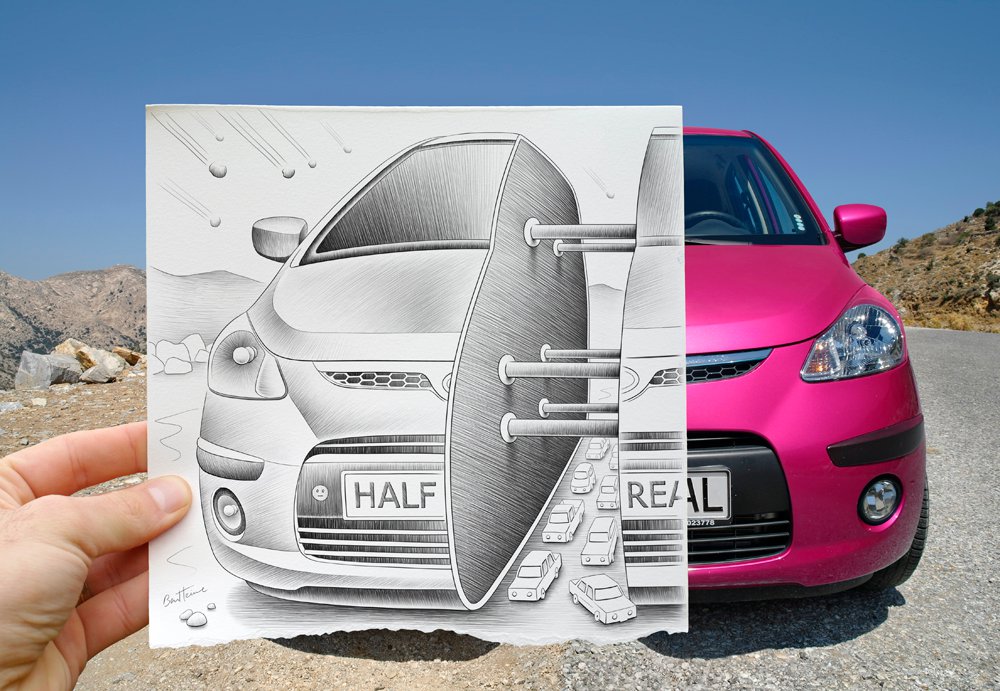
In the first example, you can see a photo of a car of unusual color.
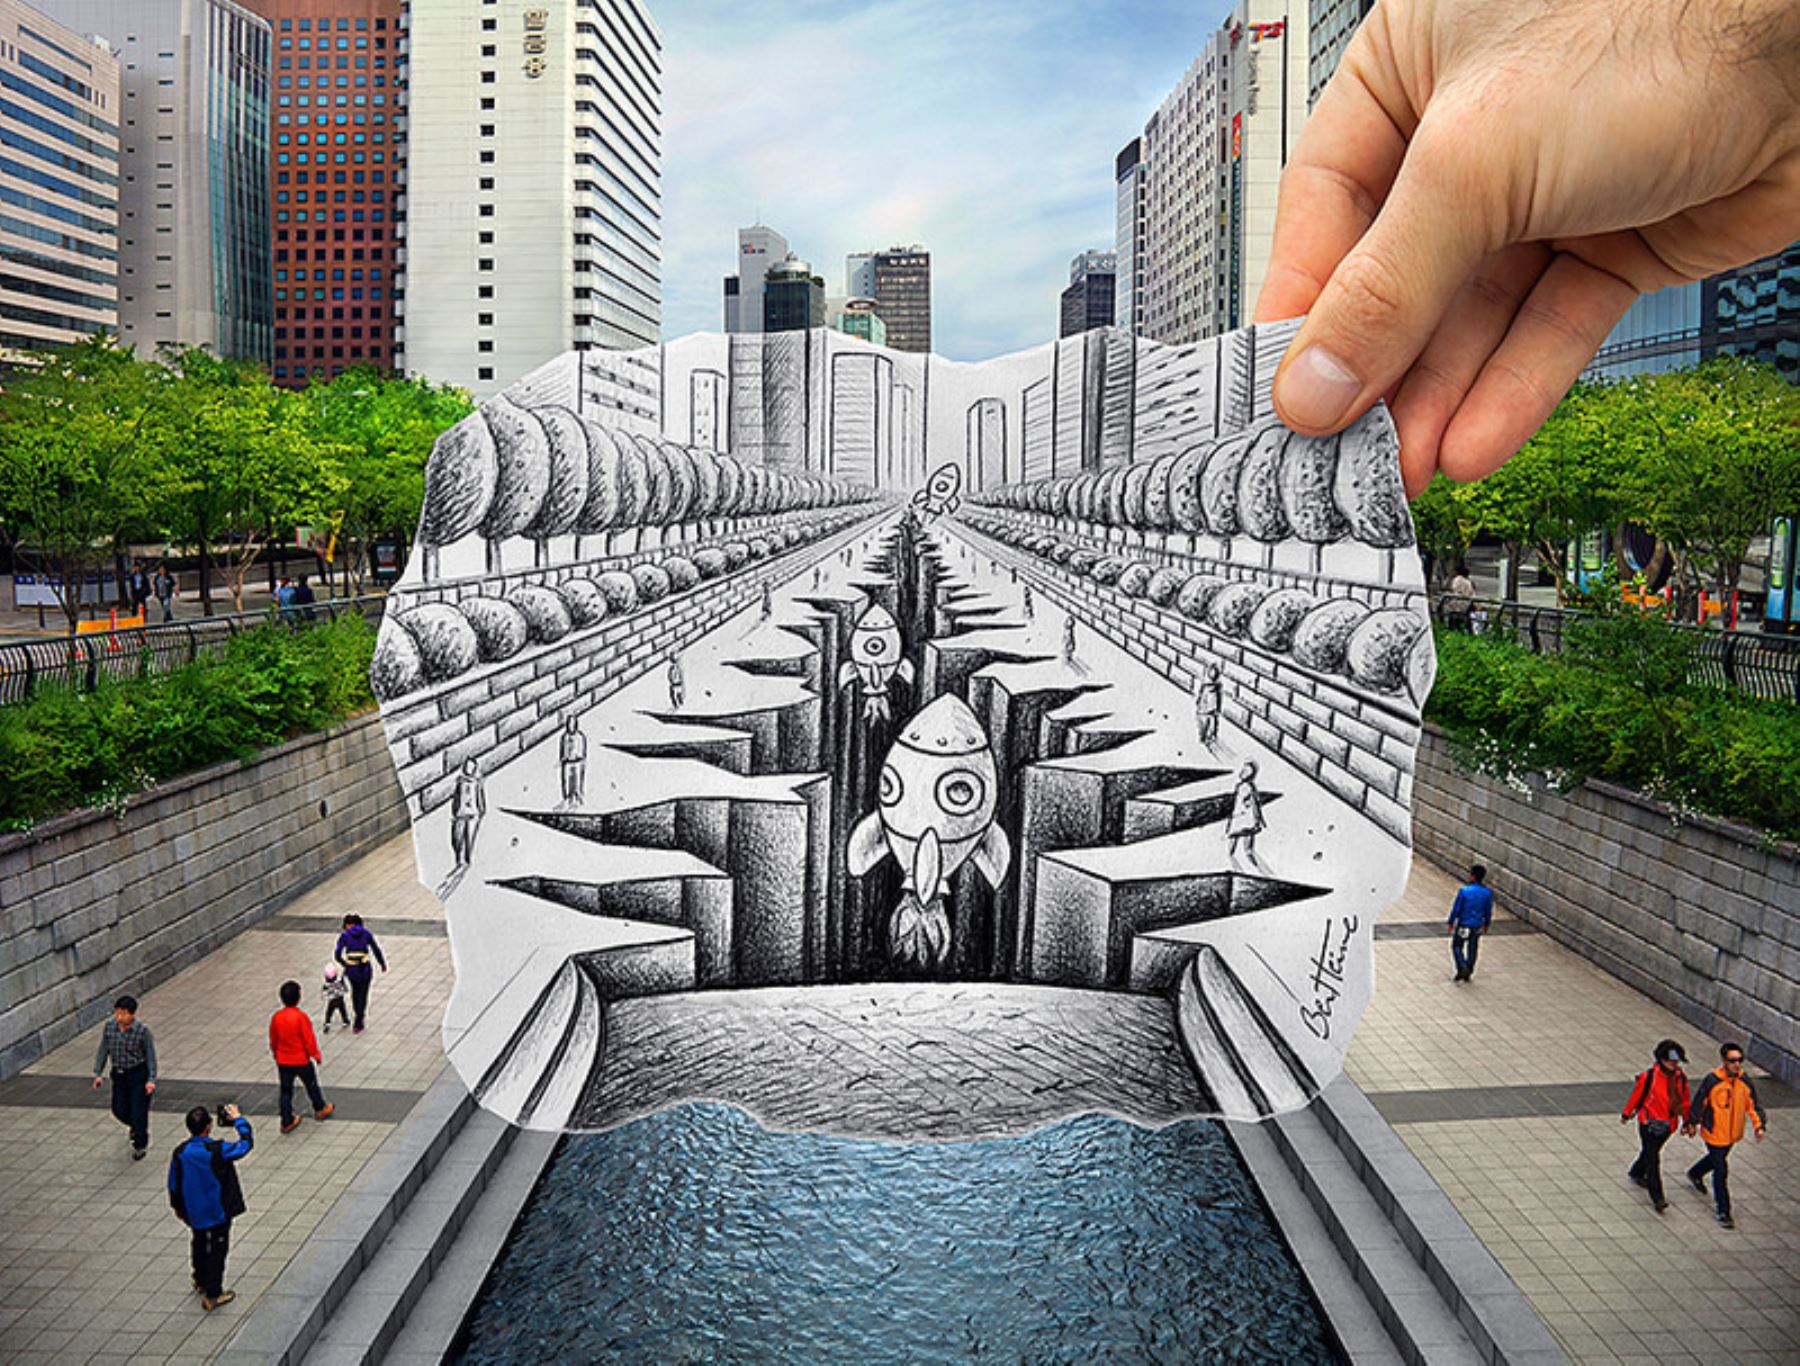

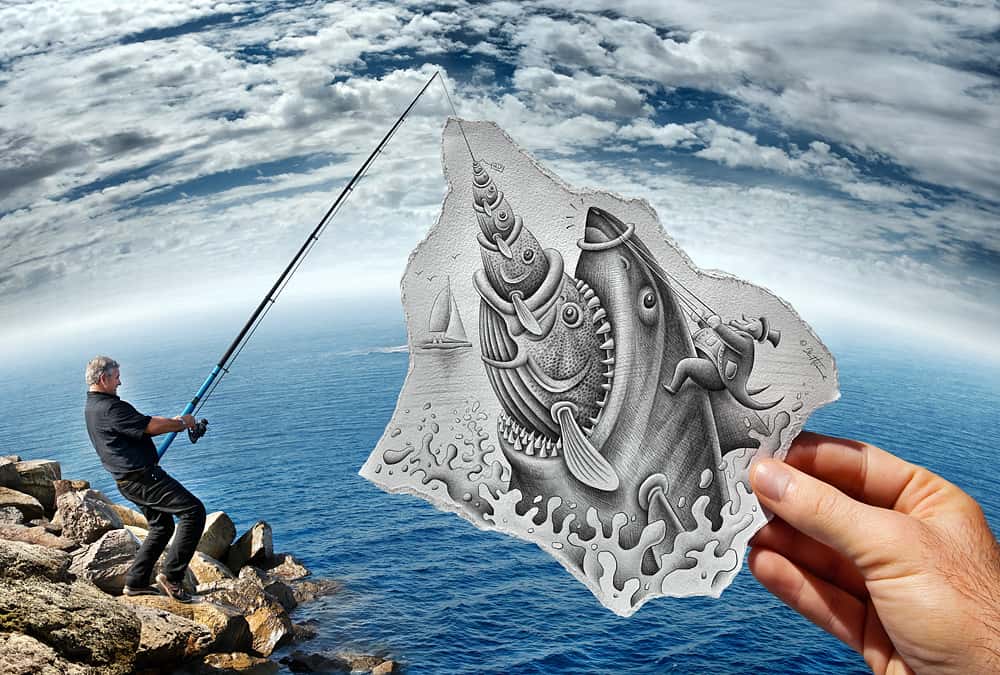
The next photo immediately grabs the attention of a viewer due to an unusual effect. The artist created it by drawing a fish on a piece of paper.
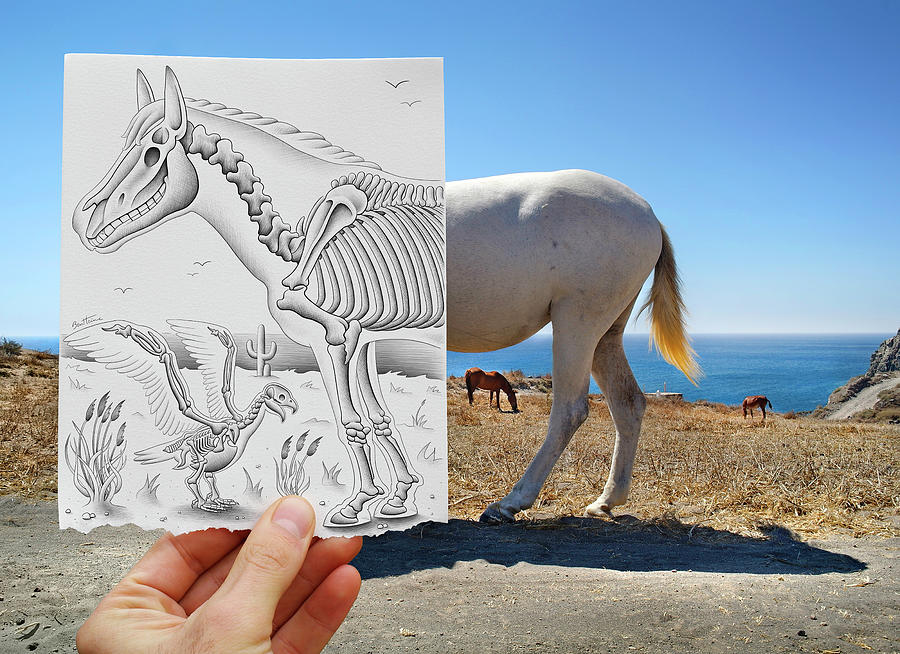
As it was impossible to make the horse stand still while Ben was drawing his sketch, he took the photos of the horse and his hand holding a piece of paper first. Then, he blended two images and created the result to achieve a more striking effect.
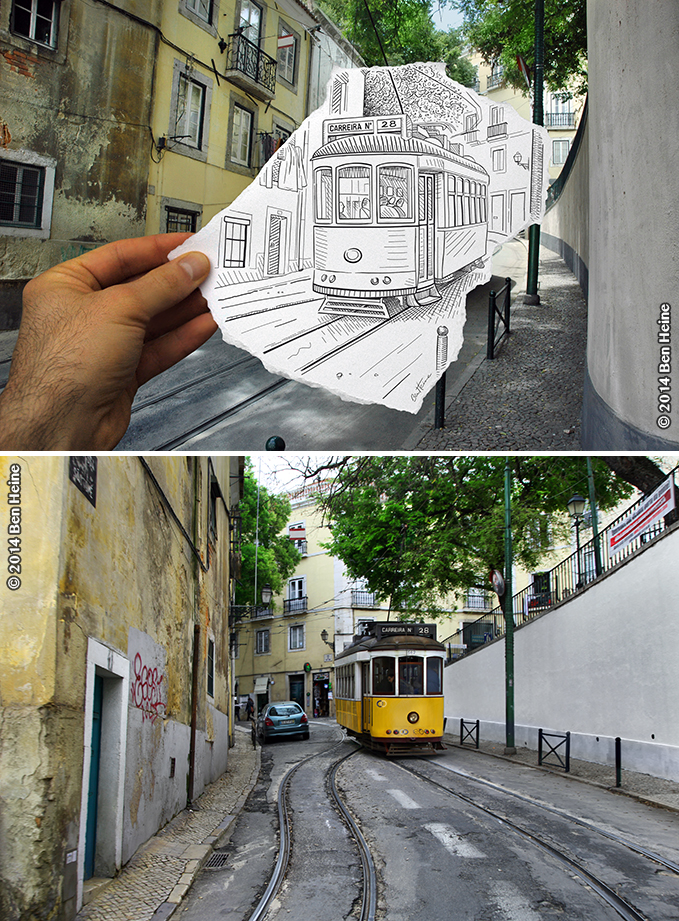
Ben doesn’t always use a regular pencil when creating his drawings. He often creates colorful works, in which his drawings become a window into another world where things take an unusual turn. You can also use such pencil vs camera ideas to achieve the result you need.
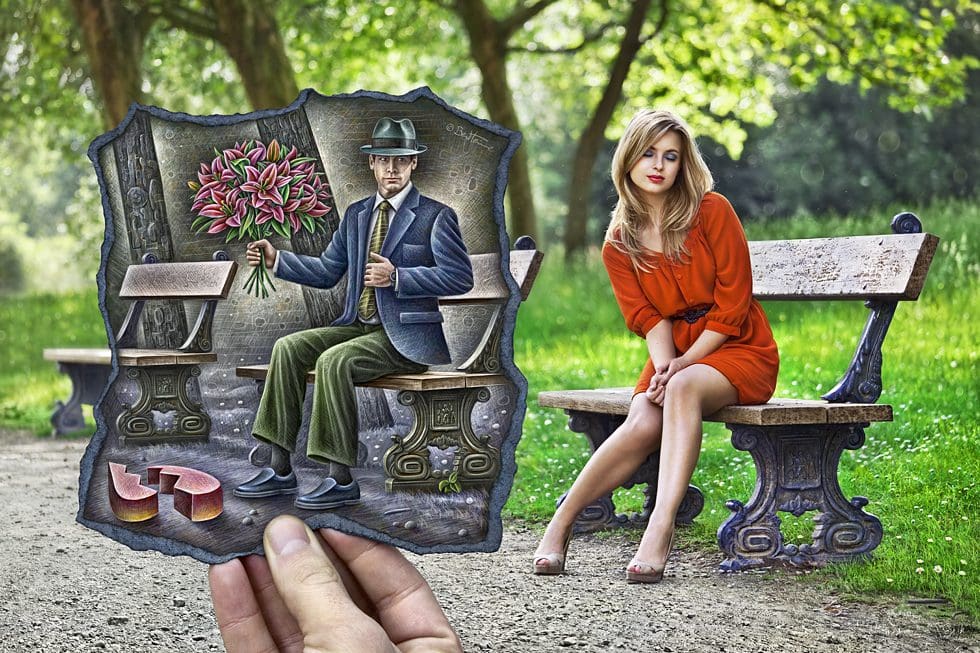
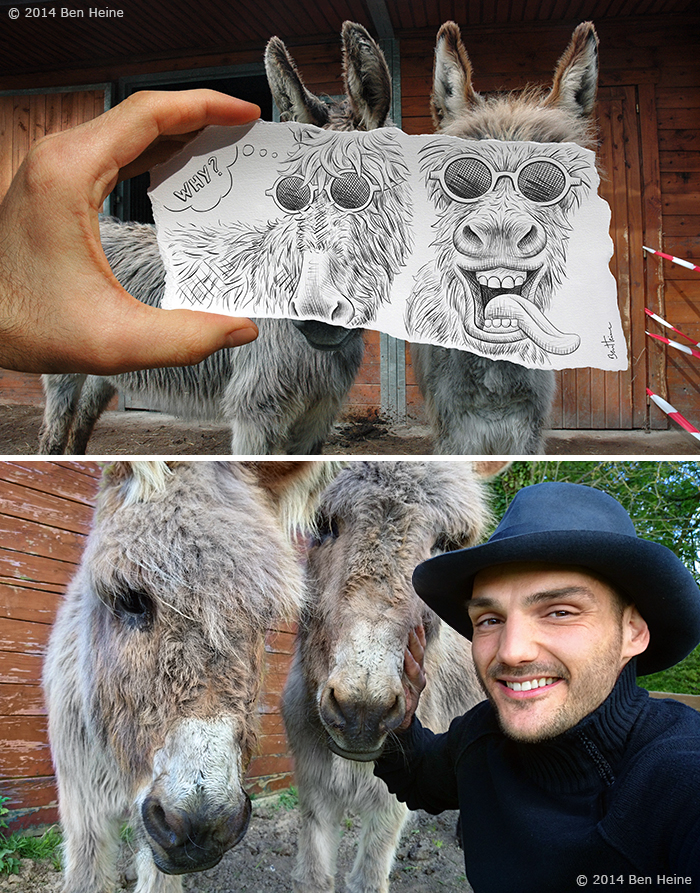

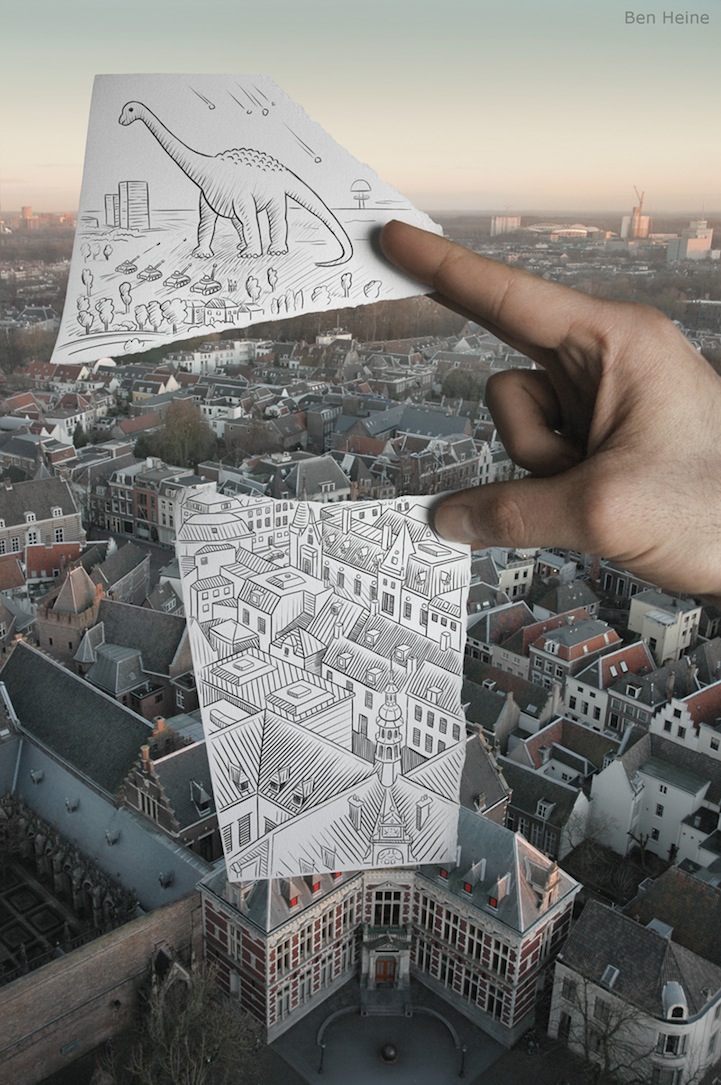
Ben doesn’t always use a regular pencil when creating his drawings. He often creates colorful works, in which his drawings become a window into another world where things take an unusual turn. You can also use such pencil vs camera ideas to achieve the result you need.
How to Create Pencil Vs Camera Artwork?
You may use a variety of techniques to achieve a similar effect. Take a photo while holding a piece of paper with an unusual drawing or print something on it. The main steps that you should follow are quite similar to the ones described below.

Step 1. Come up with a new idea. We recommend you start by creating a funny character. First, you should select a photo or take a new one. It should have a resolution of at least 1000×1000 pixels. You can also select a suitable place, create a drawing, and then take a photo.
Step 2. Decide on what you are going to draw. Your image should complement the scene in your photo. You can use a picture of buildings, people, animals, or other subjects. Pay attention to lines, forms, and the balance between foreground and background.
At the start, it’s better to create basic drawings. While they might seem not creative enough, they will help you master important techniques for creating pencil vs camera art.
Step 3. Get a piece of paper of the right size and start creating your drawing. You can attach it to your photo using regular tape.
Pay attention to the elements that allow you to visually connect your drawing and the photo. Otherwise, something will be missing from your picture. Experiment with different positions of your drawing to ensure that it fits with the rest of the image.
Step 4. Use a green screen as the background and take a picture of your hand holding your drawing. Then, you may use professional photo editing software like Photoshop, Adobe Lightroom, Pixlr, or GIMP. After removing the background, you can resize the photo of your hand so that it fits with the picture that you want to transform.
You can also take a photo while holding a piece of paper with a drawing in front of an unusual background. Make sure to hold the paper at the right distance from the camera. Put it in the center and ensure that the background is perfectly visible as well. It will enable you to create the right composition.
Technical and Theoretical Tips
To get a pencil vs camera photo, you will have to use a sketch and combine it with a photo to achieve a creative effect by juxtaposing pictures of different types. Below, we have listed some handy tips that will enable you to get stunning pictures without wasting a lot of time.

Use professional equipment. If you want to achieve underexposure or overexposure issues, make sure to take photos with a pro-level camera or a good smartphone. It will also allow you to take clear pics. In addition, it’s important to use a tripod to stabilize your photos.
Take the light into account. To improve the quality of your images, don’t take pictures in poor-light situations. It’s better to take photos outdoors or near the window when there is plenty of natural light. It will allow you to achieve better results even if you use your smartphone.

Pay attention to the depth and perspective. If you want to create a voluminous image on a piece of paper, you should consider the perspective to achieve a realistic result. It is especially important to those who create geometric shapes, buildings, and cities. Thanks to the perspective, you can demonstrate the scale and proportions.
Use shading to give your photos some volume. Many artists create shadows to give their creations a voluminous feel using pencil. The crosshatching technique is the most popular one as it allows achieving great results. If you want to make a part of your picture darker, you can draw dots, circles, triangles, or other shapes, but crosshatching makes it easier to create a shadow. It will look like a gradient from light to dark.

Use references to achieve more creative results. To achieve a more striking result and create a unique drawing, use multiple reference images. You can create a unique collage using reference photos and drawings. Utilizing reference images as a source of your creativity, you can improve your skills and produce top-level results.
Pay attention to composition. By doing this, you can learn how to express your ideas with drawings. To grasp its rules, you should remember that our perception depends on our subjective bias. We might consider the horizontal and vertical lines as more stable than diagonal lines. Besides, we consider dark objects heavy.

Enhance your photos. After taking the steps described above, you can further enhance your photos by adjusting their contrast and saturation. You may also crop your images. If you don’t want to waste your money, you can use Adobe Photoshop and Adobe Lightroom for free. In addition, you may use the trial versions of Affinity Photo, Skylum Luminar, Corel PaintShop Pro, etc.
You may also utilize iOS and Android photo editors, such as Photoshop Express or Picsart. Alternatively, you may download Fotor or use Snapseed and Pixlr to edit pictures on your phone. Try using different blending modes, adjust opacity, and add layer masks to combine two pictures in the most unusual way.
- Weedit.Photos Blog
- Inspiration for Photographers
- Pencil vs Camera Ideas Inspired by Ben Heine
