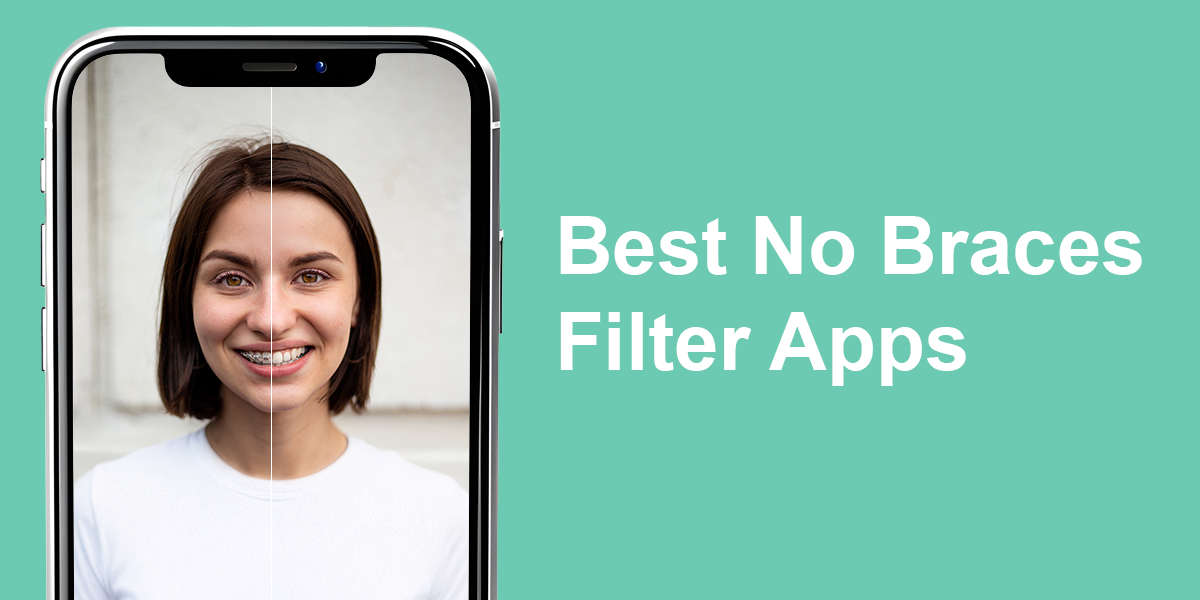
9 Best No Braces Filter Apps for Perfect Smile
Readers often ask me how to remove braces from photos without paying a retoucher or learning Photoshop. Many don’t want to buy expensive software just to fix one picture. So, I tested popular mobile no braces filter apps to see which ones work well and which ones just make teeth look blurry or fake.
Most no braces filter apps use two methods: AI to smooth over brackets or digital stickers to cover them. Some tools let you manually fix the mouth area, while others auto-detect braces. Below are the top apps I tested – ones I recommend if you want to fix your photos yourself.
Can You Trust AI to Remove Braces Naturally?
After testing many braces-removal apps, I learned that some AI works poorly. Despite promising instant results, these filters either unnaturally blur teeth or leave odd marks where braces were, sometimes making edited photos look worse than the originals.
Apps worked best when they let you help a little, like changing how strong the filter was or making small changes around the mouth. Apps that did everything by themselves often missed important details, like the shape of lips or natural light/shadow. This made teeth look fake. AI is smart, but for detailed things like braces on faces, a human touch is essential.
Achieving a natural appearance when removing braces from selfies or portraits requires more than a simple one-tap solution. As my experience shows, effective results, suitable for sharing with confidence, necessitate applications combining AI technology with user-customizable editing tools.
Best No Braces Filter Apps for Instagram & TikTok
A lot of readers asked me how to quickly delete braces before posting on Instagram or TikTok – so I decided to test these apps with that in mind. I checked how well each one works specifically for social media: whether the edits hold up after compression, how natural the smile looks in selfies, and if the results are good enough for Reels, Stories, or close-up TikToks. Some apps really surprised me – especially the ones that don’t rely on AI alone.
Many readers asked me for fast ways to edit out braces before posting to social media. So, I tested no braces filter apps for Instagram and TikTok. I evaluated how well each one handled platform compression, created natural-looking smiles in selfies, and delivered results suitable for Reels, Stories, or close-up TikTok videos. I was surprised how well some non-AI apps performed.
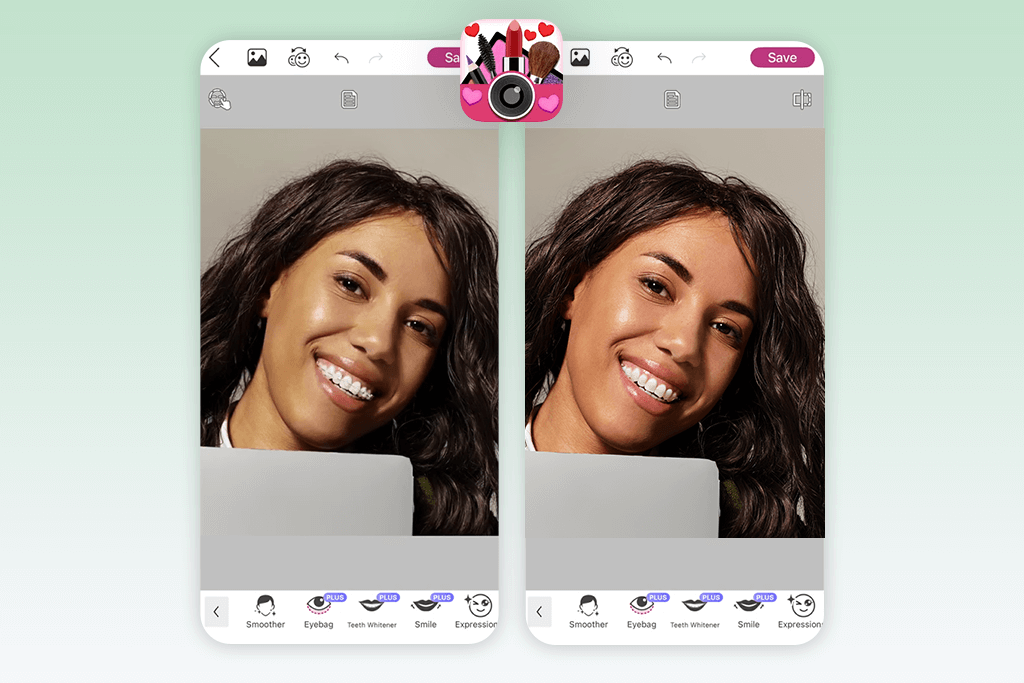
1. YouCam Makeup
- Speedy, user-friendly removal
- Natural-looking tooth restoration
- Customizable brush for accuracy
- Built-in whitening feature
- Comprehensive selfie editing solution
- Slight loss of detail in angled photos
I’ve always liked YouCam Makeup since it packs so many features into one app. When I saw it had a “braces removal” tool, I really wanted to know if it could handle such detailed work. I tried it on a professional photo of a teen client who asked to see her smile without braces. After using the tool to cover the braces, I was surprised how fast it made them disappear naturally.
The app didn’t simply blur the braces – it accurately reconstructed the hidden teeth. I then applied the “Teeth Whitening” feature, reducing its intensity slightly to prevent an unnatural, over-polished appearance. This produced a clean, natural-looking smile she could confidently share on social media. The only drawback occurs in photos taken at slight angles: tools like the blemish remover app occasionally over-edit, blurring natural lip contours. However, this can be fixed with careful adjustments.
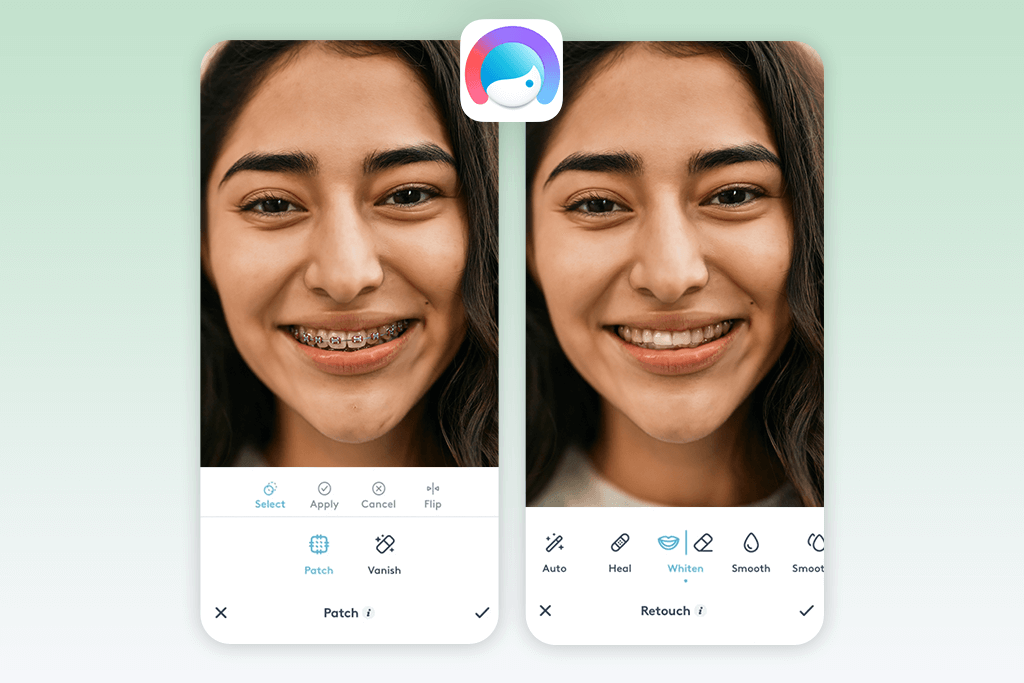
2. Facetune
- Dual brace removal techniques
- Zoom-enabled brush interface
- Precise detail refinement
- Integrated teeth whitening
- Optimized for social media editing
- Demands careful editing for realism
- Patch tool may appear unnatural
Facetune is super popular on social media, especially for fixing skin or whitening teeth. I tried it on a relaxed outdoor photo of a client – she had a big, natural smile showing full metal braces. Using the “Vanish” tool first didn’t erase them fully on the first swipe, but touching up smaller areas section-by-section worked way better!
The “Patch” tool proved more effective for stubborn spots: it required patience, but delivered a clean, natural-looking result without obvious edits. I particularly liked the tools’ flexibility: zooming in, customizing patch size, and switching between “Vanish” and “Patch” modes provided solid control over complex angles. However, avoid using this app for low-resolution photos, as if the image lacks sharpness, patches may appear flat or mismatched.
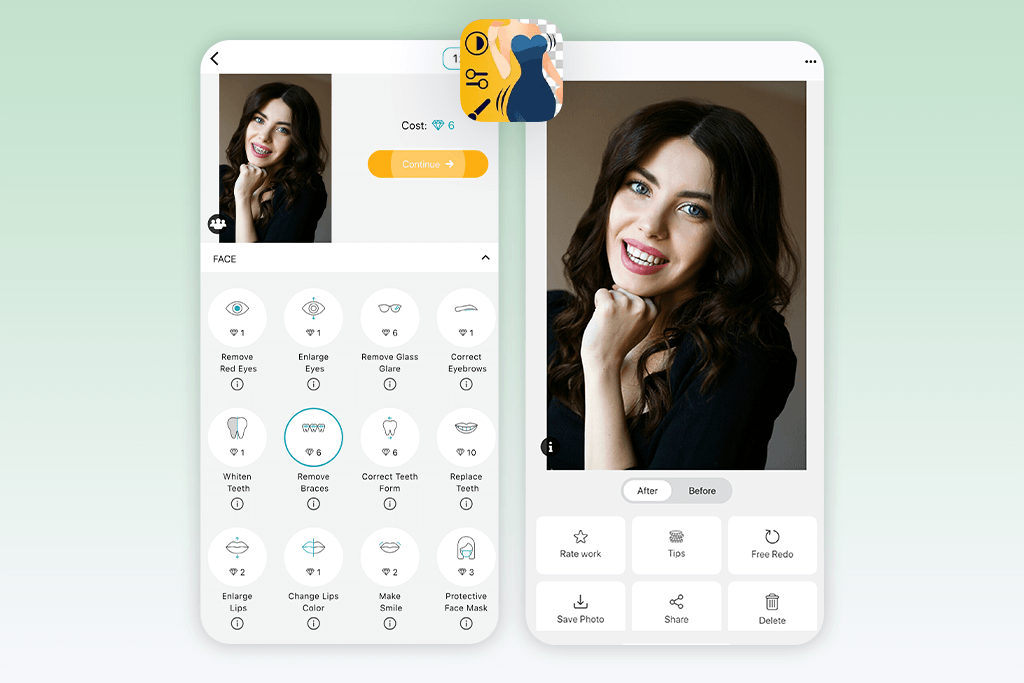
3. FixThePhoto Body Editor&Tune
- Professional photo editors
- Authentic, polished results
- Personalized editing requests
- Manages complex angles/lighting
- First edit is free
- No immediate edits
- Lacks in-app editing features
FixThePhoto uses real people (not automatic no brace filters) to edit photos. As a professional photo editor myself, I know this matters. I tested it by sending a portrait where ceramic braces were clearly visible, asking to remove the braces and clean the teeth naturally. Within minutes, I received the edited photo back – and you’d never know the braces were originally there.
It kept the skin texture, lighting, and tooth shapes looking natural, while most apps usually ruin these. Yes, there are only two problems: it’s not instant, and it costs money. But the price is just $0.99 for three photos, and they even edit your first picture for free. For anyone wanting pro-level results without learning Photoshop, this is definitely the best and most dependable choice I’ve tried.
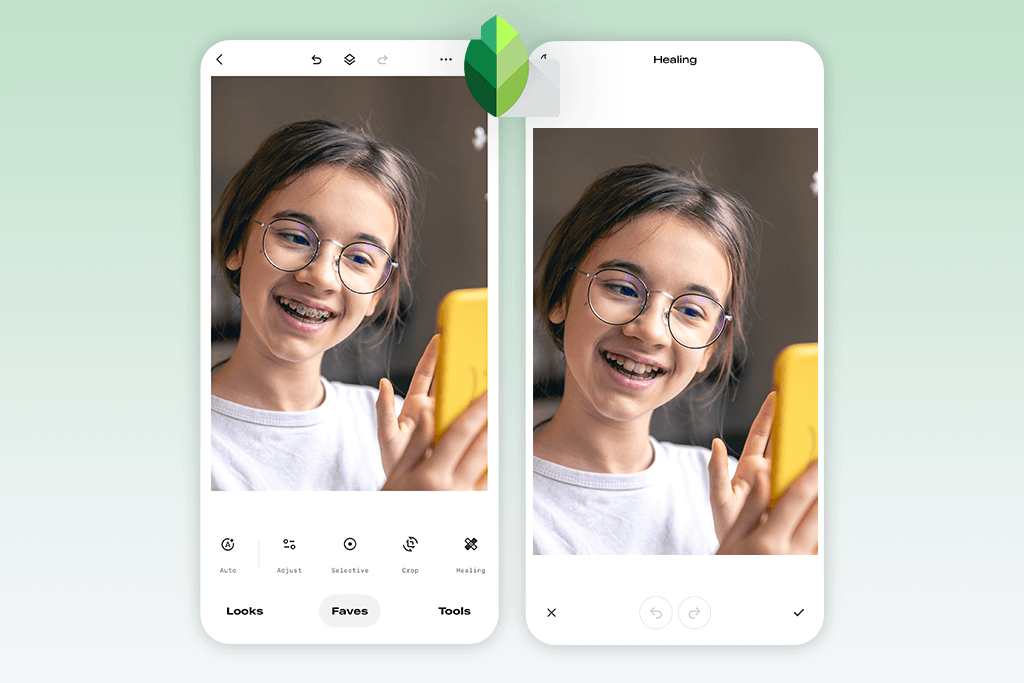
4. Snapseed
- Free full-access editor
- Pixel-level manual control
- Zero ads or locked features
- Optimized for high-res images
- Steep learning curve
- No quick auto-fix option
Snapseed is a powerful free no braces filter app, and to tell the truth, I’m amazed to discover that it costs nothing. It’s made for photo experts who like detailed control, so when I wanted careful hands-on brace removal, I chose it first. I tested the Healing tool on a headshot: the person wore metal braces under harsh, directional light. Working slowly and zooming in, I brushed away the brackets piece by piece.
I then fine-tuned the photo using Tune Image and Selective tools to clean up tiny imperfections the Healing tool missed. That’s Snapseed’s best part – you control how detailed your edits get. However, if you’re new to manual editing, there’s a learning curve. It’s not a one-tap fix, but you gain pro-level results, just like the app that photographers use.
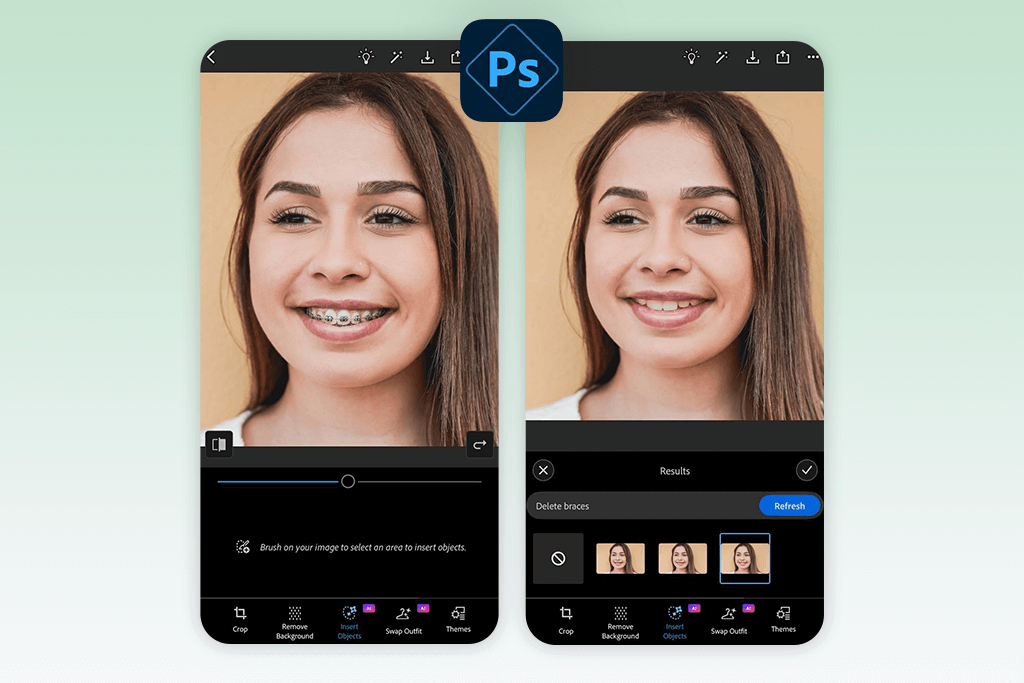
5. Photoshop for iPhone
- Professional-grade mobile edits
- Intelligent object erasure
- RAW/PSD file compatibility
- Free basic tier
- Advanced features require Adobe subscription
- Requires dedicated practice to master
I’ve always used Adobe products for my professional work and trust them completely. To test removing braces in Photoshop Mobile, I focused on getting it right, even if it took longer. I carefully traced the braces with the Pen tool – this needed patience because the photo was a detailed close-up and the braces were small and shiny. After selecting the traced area, I used Content-Aware Fill. The braces disappeared, and the result looked almost perfect.
The app rebuilt the teeth shape and texture very well – no obvious blurry areas remained. However, it’s not a quick, one-tap fix. Perfectly outlining the braces required multiple attempts from me, and beginners (especially those unfamiliar with the Pen tool) might find it tricky. But for high-quality control, if you’re willing to spend over 2 minutes per photo, the results are almost as good as desktop Photoshop.
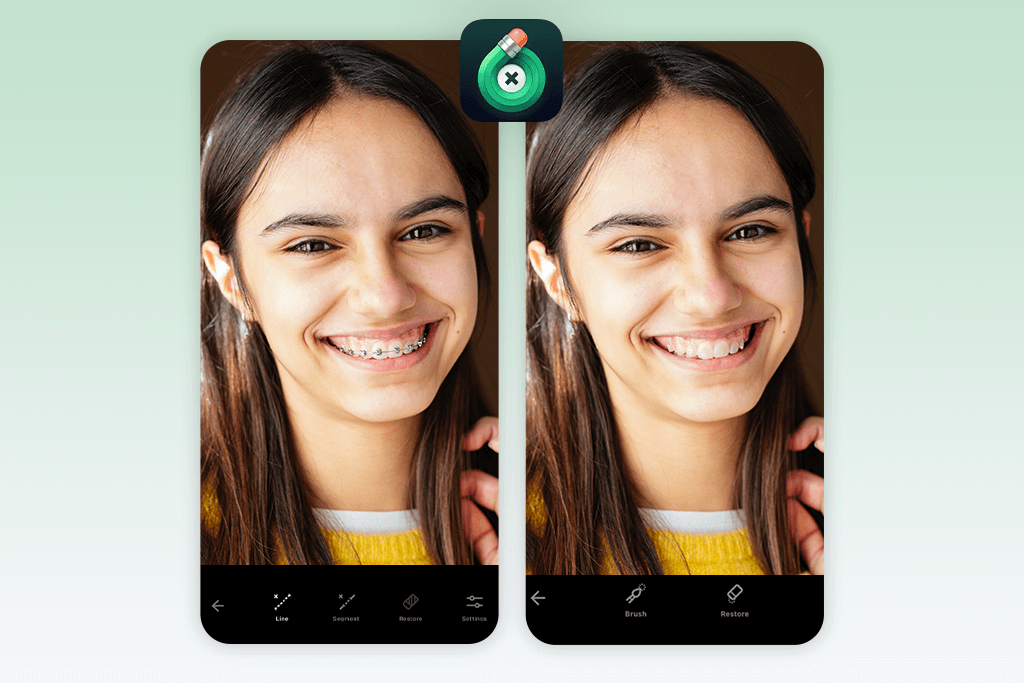
6. TouchRetouch
- Clone Stamp offers pinpoint accuracy
- Customizable brush/eraser settings
- Helpful in-app tutorial videos
- Excellent on detailed portraits
- Interface hides some tools
- Requires purchase (not free)
Since TouchRetouch gets some of the best ratings I’ve seen among phone photo apps, I wanted to test it on something specific: braces removal. My test photo was a studio headshot with visible metal brackets. I used a combination of the Object Removal tool and the Clone Stamp. Painting over the braces was quite straightforward – mainly thanks to being able to change the brush size and zoom in tightly.
The Clone Stamp tool made the biggest difference. I borrowed texture from clean parts of the teeth and carefully covered the braces in layers. Tweaking the brush hardness and opacity helped blend it all naturally. The interface takes a little getting used to, though. And while it’s not free like others on this list, the one-time fee is fair for reliable manual editing that doesn’t require pro-level programs.
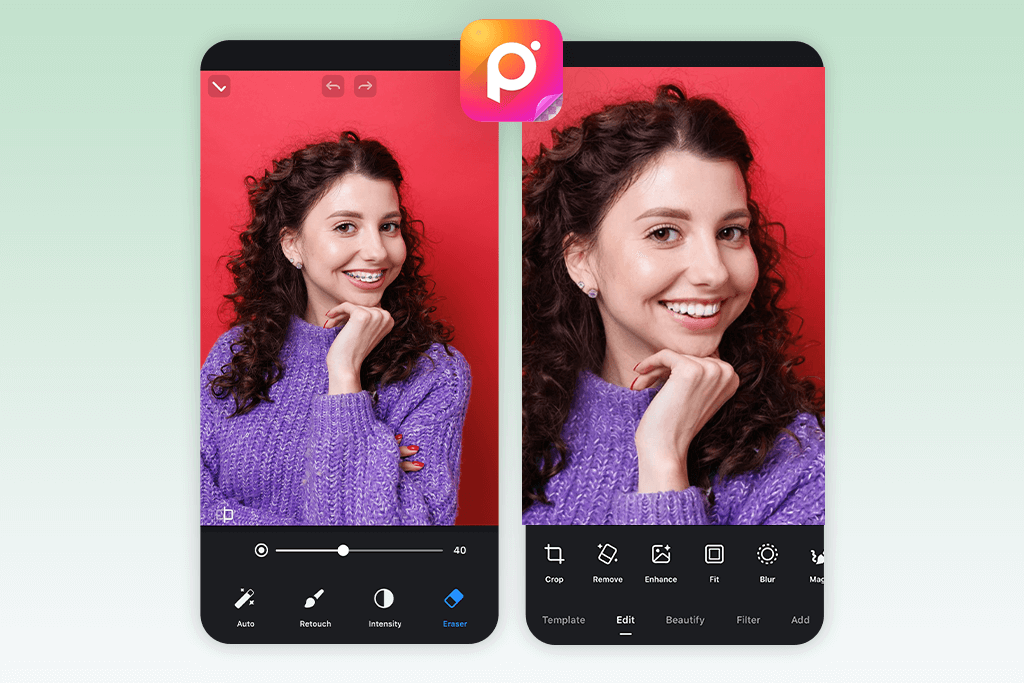
7. Polish
- Powerful object removal
- Tons of extra editing features
- Great for creating polished portraits
- Support and tutorials built-in
- No iOS version available
- Interface may feel overwhelming
Polish is one of the best all-in-one Android photo editors I’ve found. I gave it a try on a casual selfie where the braces weren’t too prominent but still noticeable. I used the “Remove People/Objects” tool to target the braces area, and while it’s not specifically designed for small details like dental work, the results were surprisingly decent.
After one or two passes, most of the metal brackets were gone, and with some careful adjustments using the teeth whitening tool, the smile looked smooth and natural. What stood out to me was how much creative control you get in one place, but if you’re opening the app just to remove braces and nothing else, it might feel like overkill. Also, unfortunately, it’s Android-only, which makes it a no-go for iPhone users.
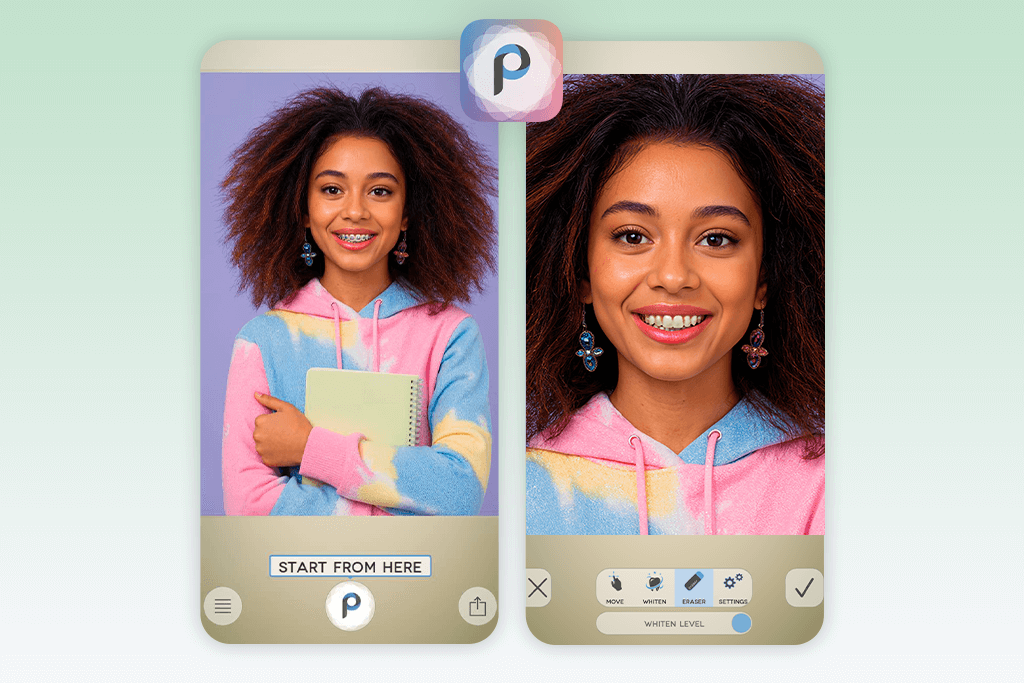
8. Photogenic
- Clone tool handles braces removal well
- Clean design, intuitive navigation
- Whitens teeth and adjusts tooth shape
- Strong for body/face retouching
- Object removal is a premium feature
- Top results demand time and precision
Readers actually recommended Photogenic to me as a great no braces filter, so I tested it. Though the app has lots of tools, I concentrated on Clone and Patch to remove braces from a smiling selfie. I duplicated a clean tooth section and brushed it over the brackets. Straightforward, but required careful control to keep the edit natural-looking.
My favorite thing was that the app never feels too complicated – even with all its features, everything is easy to use and responds quickly. However, you should know the object removal tool requires the Pro version. It’s low cost, but if you want something totally free, this app isn’t it.
9. Photoleap

- Capable editing tools in a single app
- Healing tool excels at removing braces
- Enables detailed adjustments
- Every tool has built-in tutorials
- No version for Android devices
- Mastering the Patch tool takes time
Photoleap is probably the best iOS photo editor. It looks polished, packs serious editing power, and feels surprisingly easy to use for such a capable app. Since several of my iPhone clients recommended it for creative work, I wanted to see how it handled braces removal. I tested it on a close-up selfie where the brackets were clearly visible, trying out all three relevant tools: the Clone tool, the Healing brush, and the Patch tool.
The Healing tool delivered the cleanest results the fastest – it automatically borrowed texture from nearby teeth and covered the braces perfectly. For more precise spots, the Clone Stamp let me fix edges carefully without making them look smudged. The Patch tool was the only one that took extra effort: while powerful, it needed more work to look natural, especially when fixing shiny spots and reflections on teeth.