Lighting for Still Life Photography: Tips & Techniques

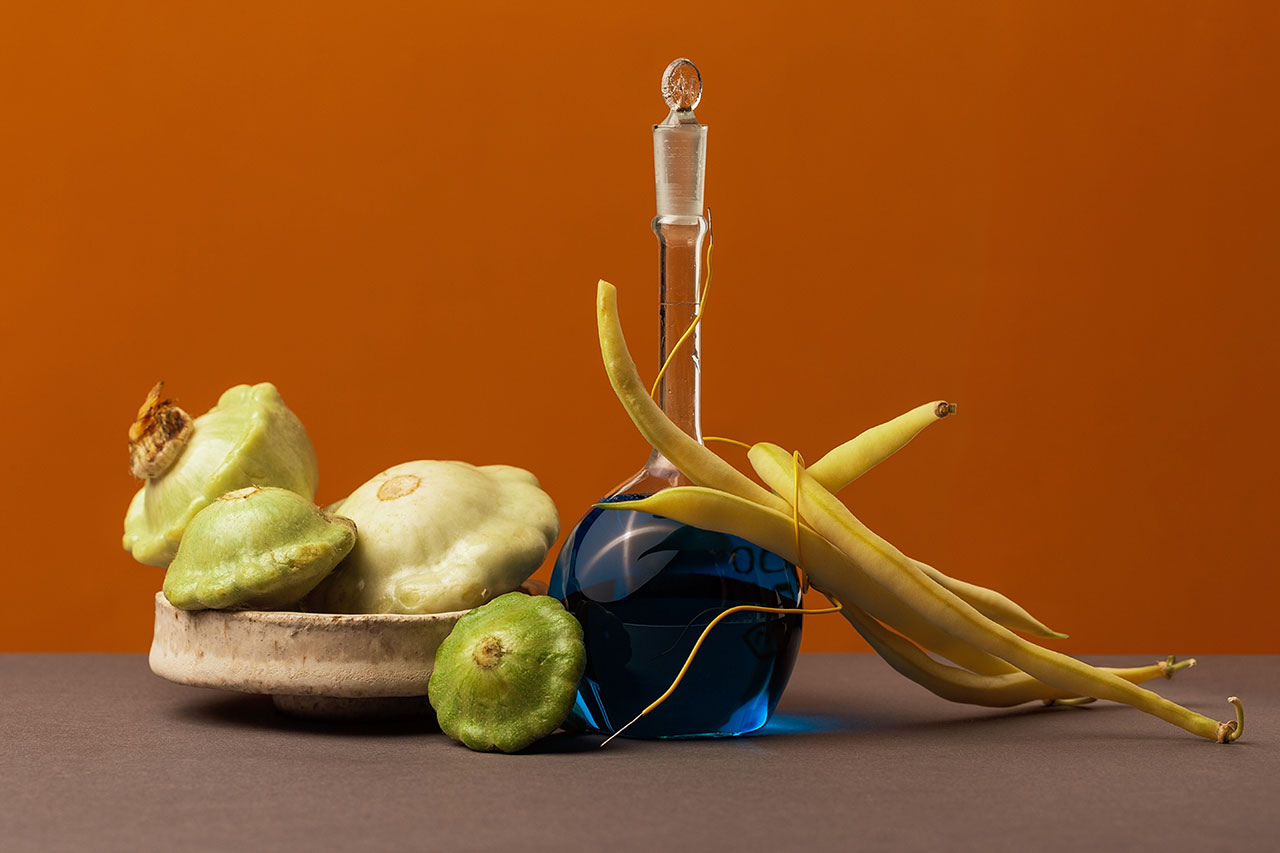
Light consists of two key elements that are particularly important for still life photography: light waves and shadow. When your scene is illuminated solely by strong, direct (frontal) light, the absence of shadows results in a visually uninteresting, two-dimensional shot.
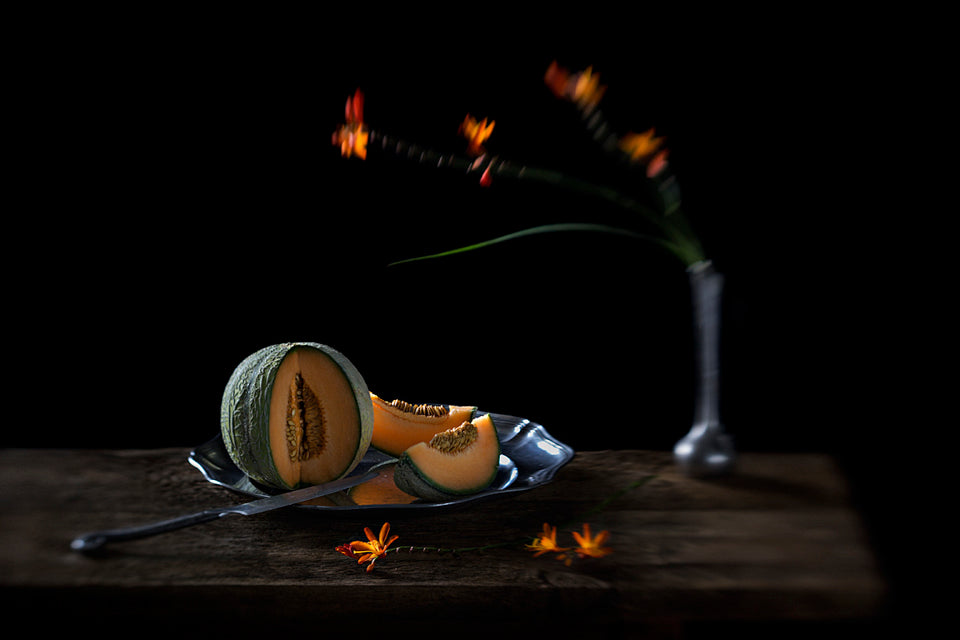
When you add deep shadows to the scene, color tones become richer and more intense. Thus, your still life images acquire a mesmerizing styling.
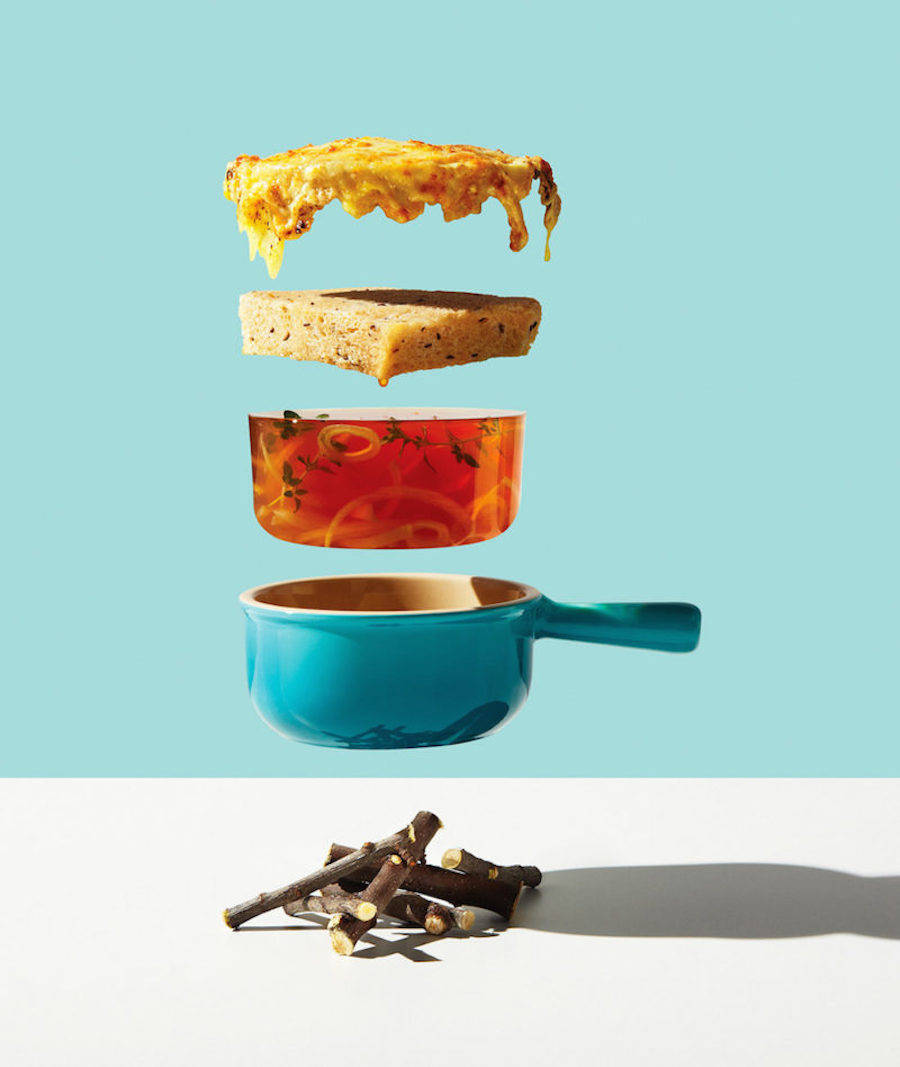
Hence, when selecting still life lighting, consider the mood you are after. For an image of hot cocoa by the fireplace, opt for dimmer, moodier lighting, while a summer cocktail would look its best with brighter, light-filled tones.
Natural vs Artificial Lighting
Natural light is the simplest and most budget-friendly choice when it comes to lighting, particularly if you’re on the early stages of your photography journey.
When shooting outdoors, the control you have over lighting conditions is limited. You can, however, time your photo sessions and choose periods when lighting is more favorable: during overcast and cloudy days or during the “golden hour,” which is the last hour before the sunset and the first hour after sunrise.

When taking images indoors or in a studio, you can adjust and manage the natural light in your composition through several techniques. You can experiment with the direction of light – whether it comes from behind, hits the scene from the front, or is located to the side. Additionally, you can select the light’s angle and utilize filters to create a softer, more diffused illumination.
The color temperature of artificial lighting, especially when it comes to budget-friendly options, can vary greatly. Such lighting is often rather focused, directional, and intense.
Consequently, to achieve a natural look, you have to adjust and control the light very meticulously. Moreover, artificial lighting tends to be more expensive. Nevertheless, if you plan to take images in a garage or a basement space, artificial lighting is the most viable solution available.

It is possible to change and adjust how artificial lighting looks in many different ways:
- When some parts of the scene are too dark, we can use bouncing or reflecting light to make them brighter.
- If there are inky shadows, it is possible to intensify them by blocking light.
- The color of the background and any reflectors you use affects the tone of a photo.
- Using black cards, you can block light and make shadows deeper.
- White reflectors bounce light back to make the scene brighter.
- You can use diffusion material to soften the light.
- Mirrors are suitable for making light stronger, bouncing it, or directing it to a specific spot.
Besides, you can edit food photos or other life style images, add different types of shadows, or improve lighting after a photo session. To do this, you should use such programs as Photoshop and Lightroom.
Parameters to Consider:
The main characteristics of light are quantity, contrast range, color, quality (hard/soft), and direction.
Quantity. A single light source may suffice for a photo session. However, you may want to add an extra lighting element for a greater depth of field or to use a faster shutter speed. Conversely, reducing the number of light objects can result in a shallower depth of field or slower shutter speed.
Contrast range. The contrast range defines the difference between the brightest and darkest parts of the scene. It’s crucial to preserve the key details in the extreme areas of the scene. For this, you may add fill light to reduce the shadow intensity or employ a flag or similar tool to decrease light in the highlights.

Color. The attribute describing color is referred to as its color temperature, measured in Kelvins (formerly degrees Kelvin). “Warm” light, characterized by reddish or orange hues, falls within lower values like 2700K. “Daylight” is typically measured at 5500K.
On the other hand, “cool” or bluish light corresponds to higher values, such as 8000K. The choice of color temperature depends on the mood you want to convey in your pictures — whether it’s a warm and relaxed ambiance or a bright and airy one.
Quality of light. Hard light casts shadows that are sharply defined and have distinct edges. The high contrast of hard light creates a sense of drama and effectively brings out texture.

Soft light, on the contrary, produces shadows that are softly edged and lack clear definition. This type of light usually has lower contrast. Soft light envelops the subject, highlighting its form and volume in a way that reduces the emphasis on texture.
Direction. Light hitting the scene directly from the front, or along the lens axis, will diminish the object’s form and minimize its texture. Light coming from the side or behind will enhance the object’s contours and depth.
Tools Are USEFUL for Lighting Adjustment
Speedlights. Speedlights are compact, easily transportable flash units that you can hold in hands or fix onto a camera’s hot shoe. Begin by arranging your scene in a location with ample lighting. Next, attach the speedlight to your camera and direct it towards the subject. When taking still life images, it’s advisable to place the device so that it illuminates the subject from the side or from behind.
Switch the flash to “TTL” mode and take a test shot. If the resulting photo appears too dim, increase the flash’s intensity; if it is excessively bright, reduce the power. In the context of still life photography, it’s generally recommended to adjust the power output to a range spanning from 1/16 to 1/2 power.
- WeEdit.Photos Choice: Godox Wireless Camera Flash

Reflectors or flags. These are important elements of the still life lighting kit. If the shadowed part of the scene, which is the darker side, is overly dim, you may need to employ a reflector. Position a reflector on the opposite side of the scene from the main light source.
Take a test shot, and if you want to preserve more details, position a reflector closer to your subjects. If you’re aiming for reduced detailing (that is, more pronounced shadows), relocate the reflector farther away from the objects.
- WeEdit.Photos Choice: NEEWER Light Reflector
Modifiers. Placed between the light source and the subject, diffusers are commonly employed to soften the light, resulting in an eye-pleasing outcome. When utilizing natural window light, just take a piece of white material, like a sheet, and drape it over the entire window frame.
When working with artificial lighting, you can experiment with various modifiers such as scrims, softboxes, stripboxes, octaboxes, umbrellas, and beauty dishes.
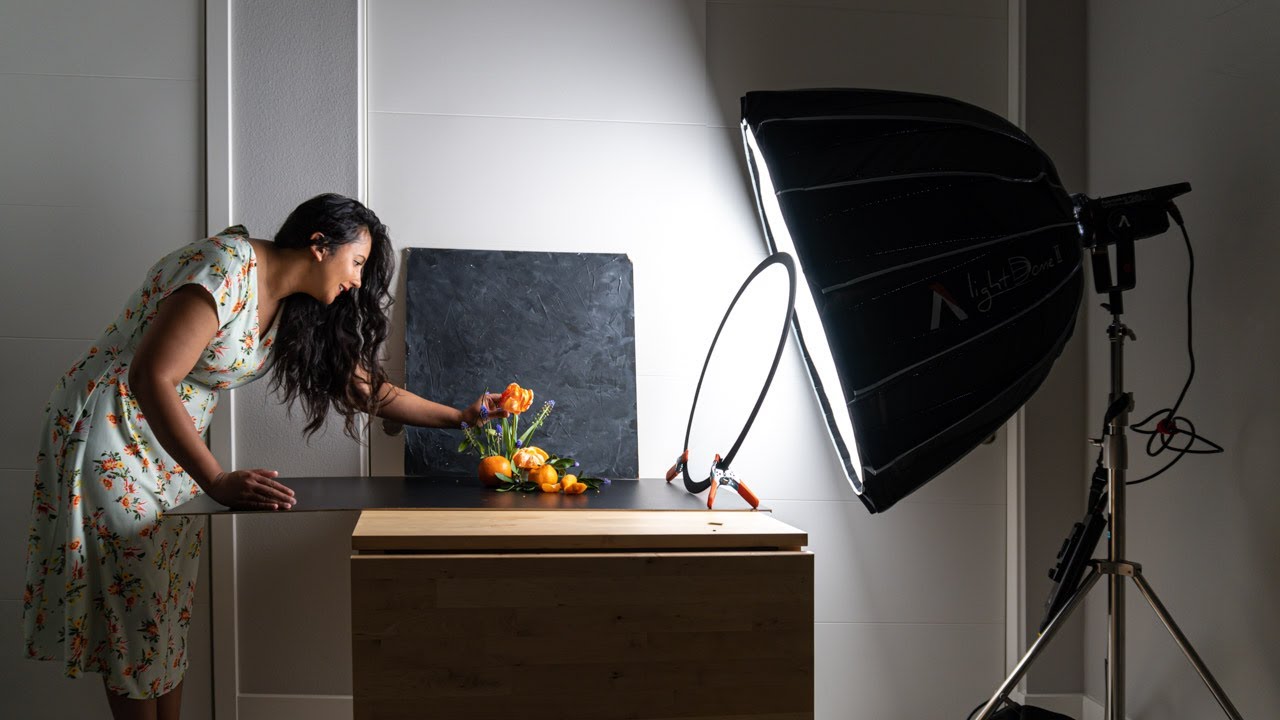
Softboxes. They make strong shadows softer and highlight small details in subjects. To use a softbox, point it toward what you’re photographing. Then, connect the softbox to your light source, which could be a camera flash or a special LED light. After that, turn on the light and make it brighter or dimmer until you like how the scene looks.
- WeEdit.Photos Choice: RALENO® Softbox Lighting Kit
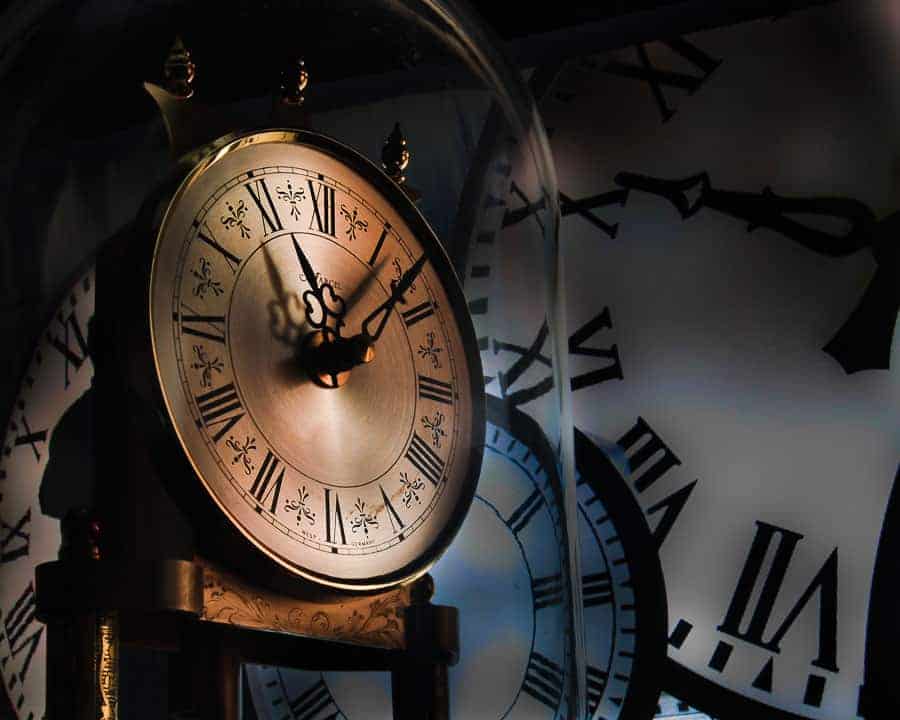
Tripod. With a tripod, you can receive sharp and detailed images. Such equipment can be a game-changer when you take close-ups or work in poorly-lit places. If you want to play with longer exposures, you can’t do without a tripod. Using it, you will be able to capture mesmerizing effects like those incorporating light trails or smoke.
- WeEdit.Photos Choice: YoTilon 72″ Tripod
Popular Techniques
Even if you purchase expensive still life photography lighting gear, it isn’t enough to get professional pictures. Skilled still life and advertising photographers, use various shooting techniques depending on the outcome they aspire to get.
Dark & Moody — For Dramatic Images

Chiaroscuro in photography defines a striking interplay of light and darkness in an image. The subject illuminated in the frame becomes front and center, accentuated by the surrounding shadows.
To achieve this particular look, you need dark panels and tape to obstruct any excess light streaming in through the window. As for the background, a black chalkboard will do just fine.
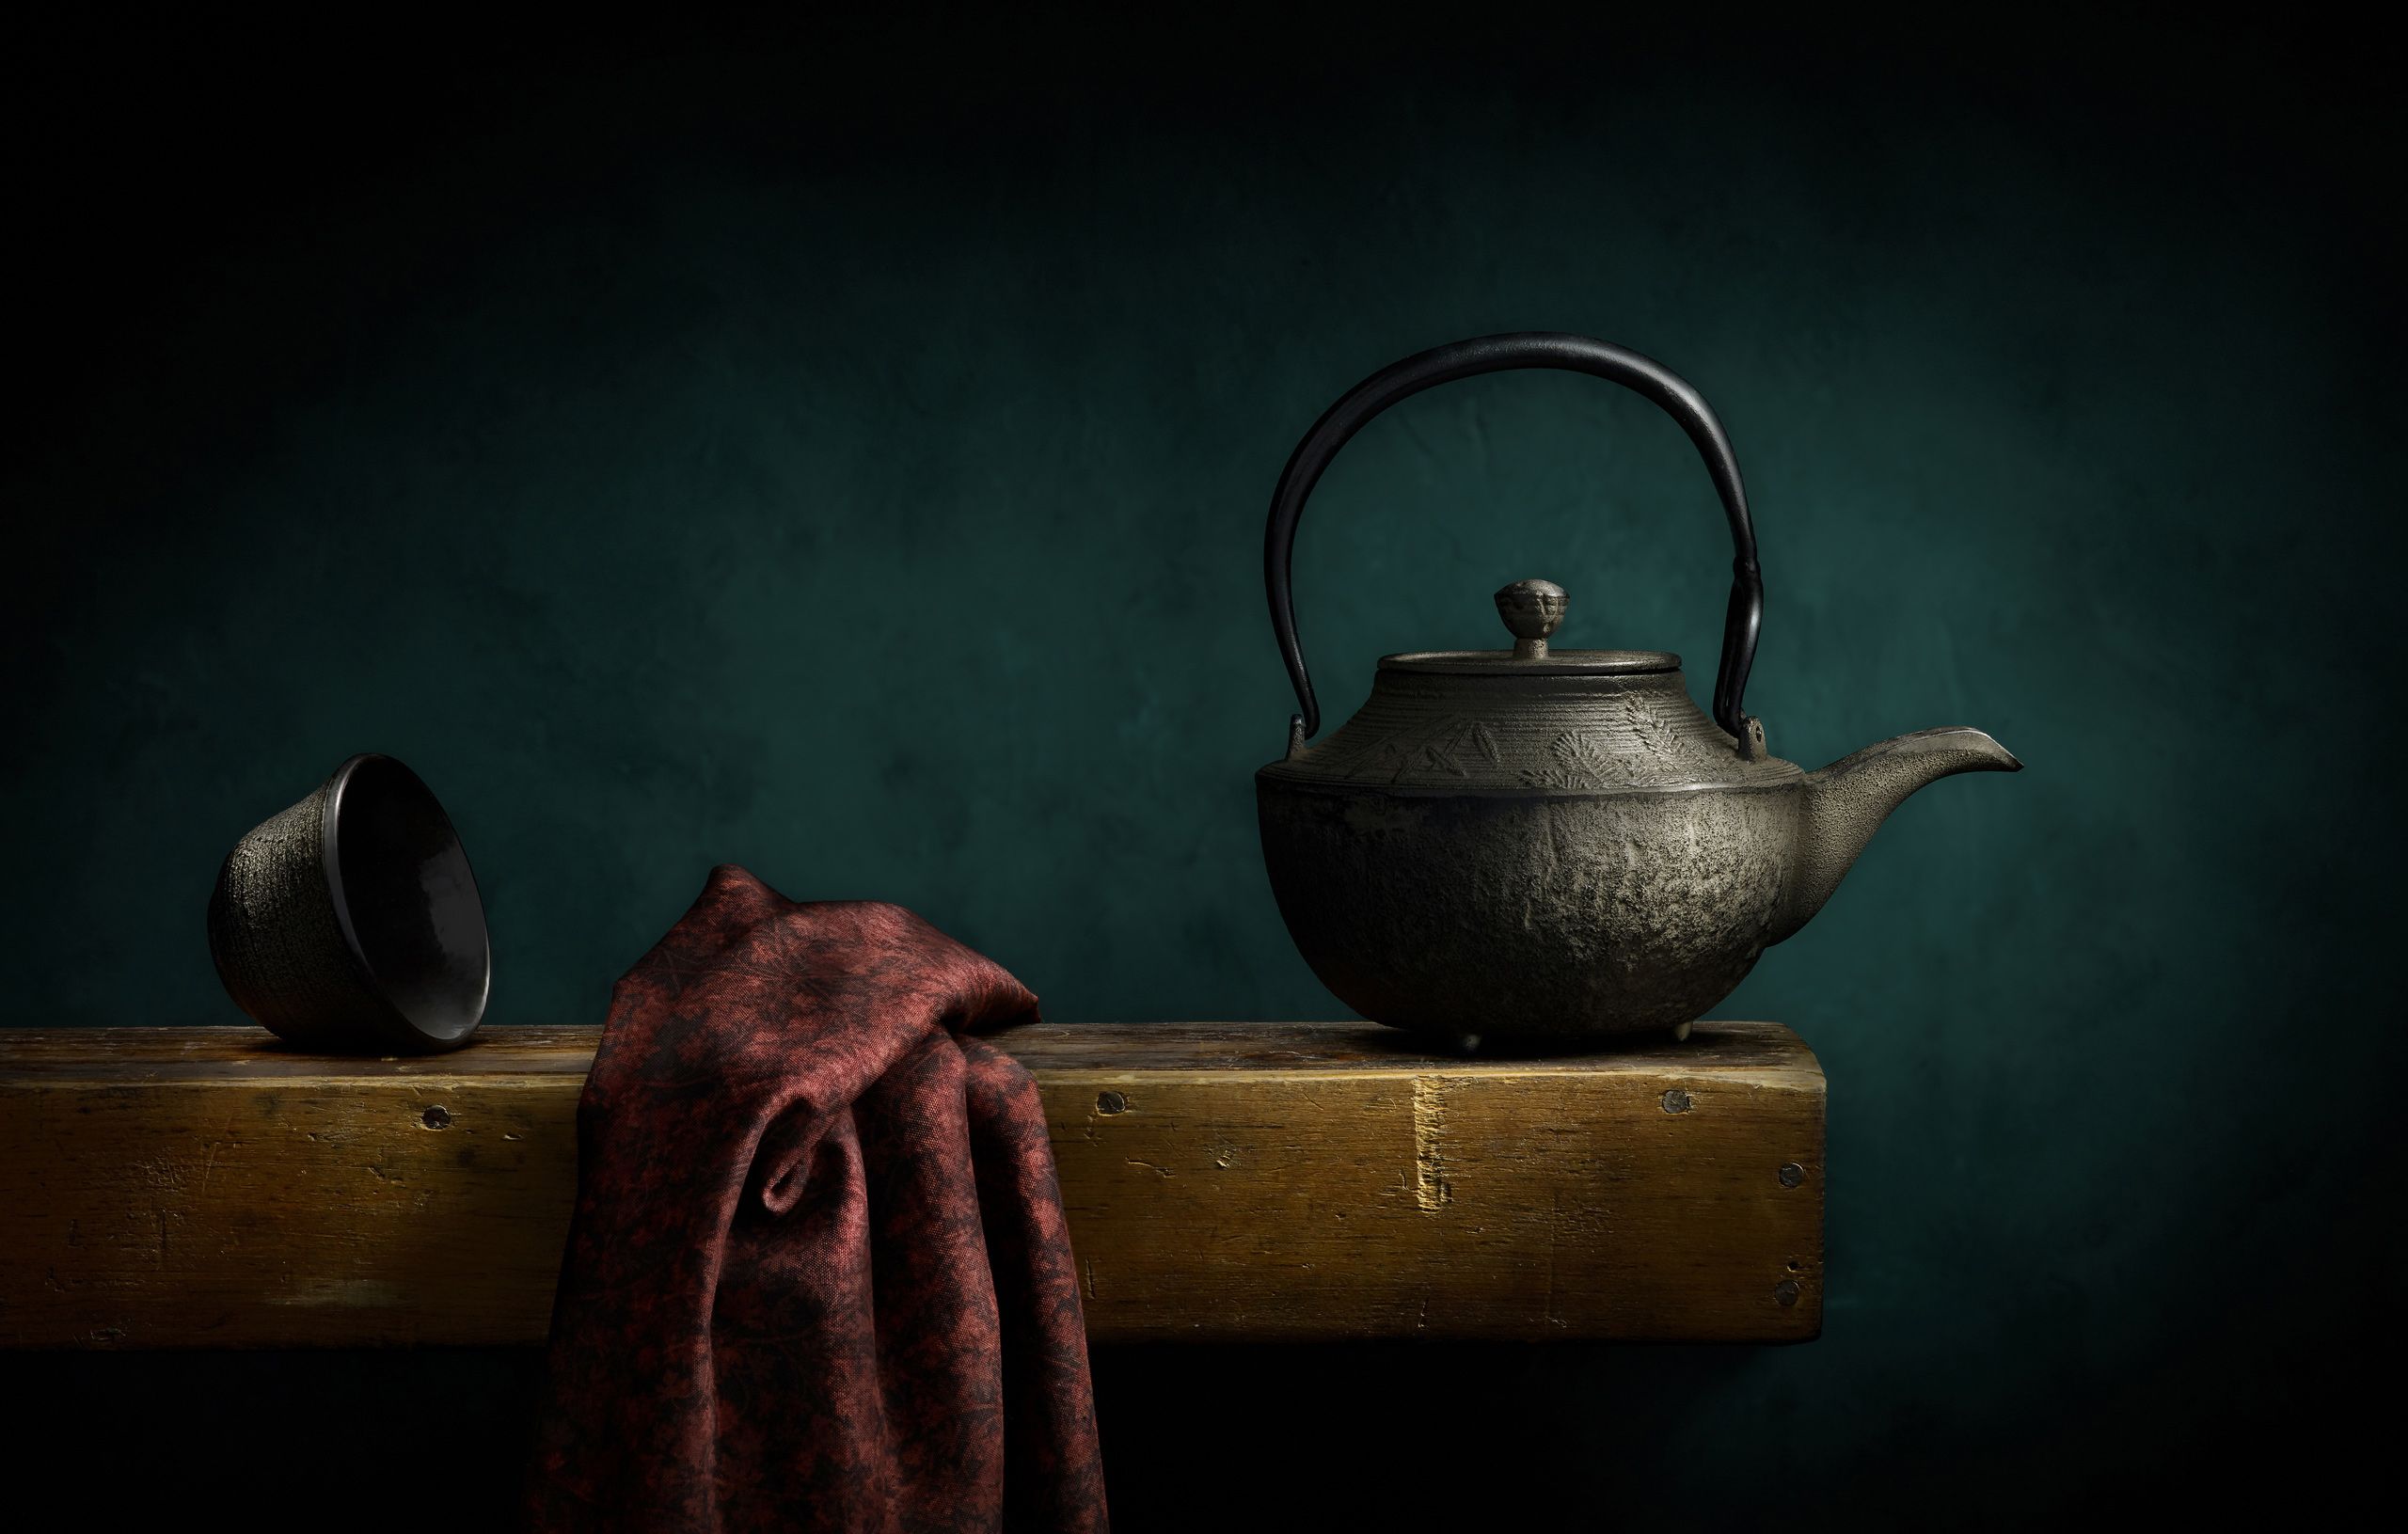
For an even more pronounced contrast to accentuate your subject, consider experimenting with a black floor backdrop. You can use a black chalkboard, deeply stained wood, or a dark baking sheet.
Place the subject so that the background is totally dark and your subject is just a little bit in the bright light from the window.
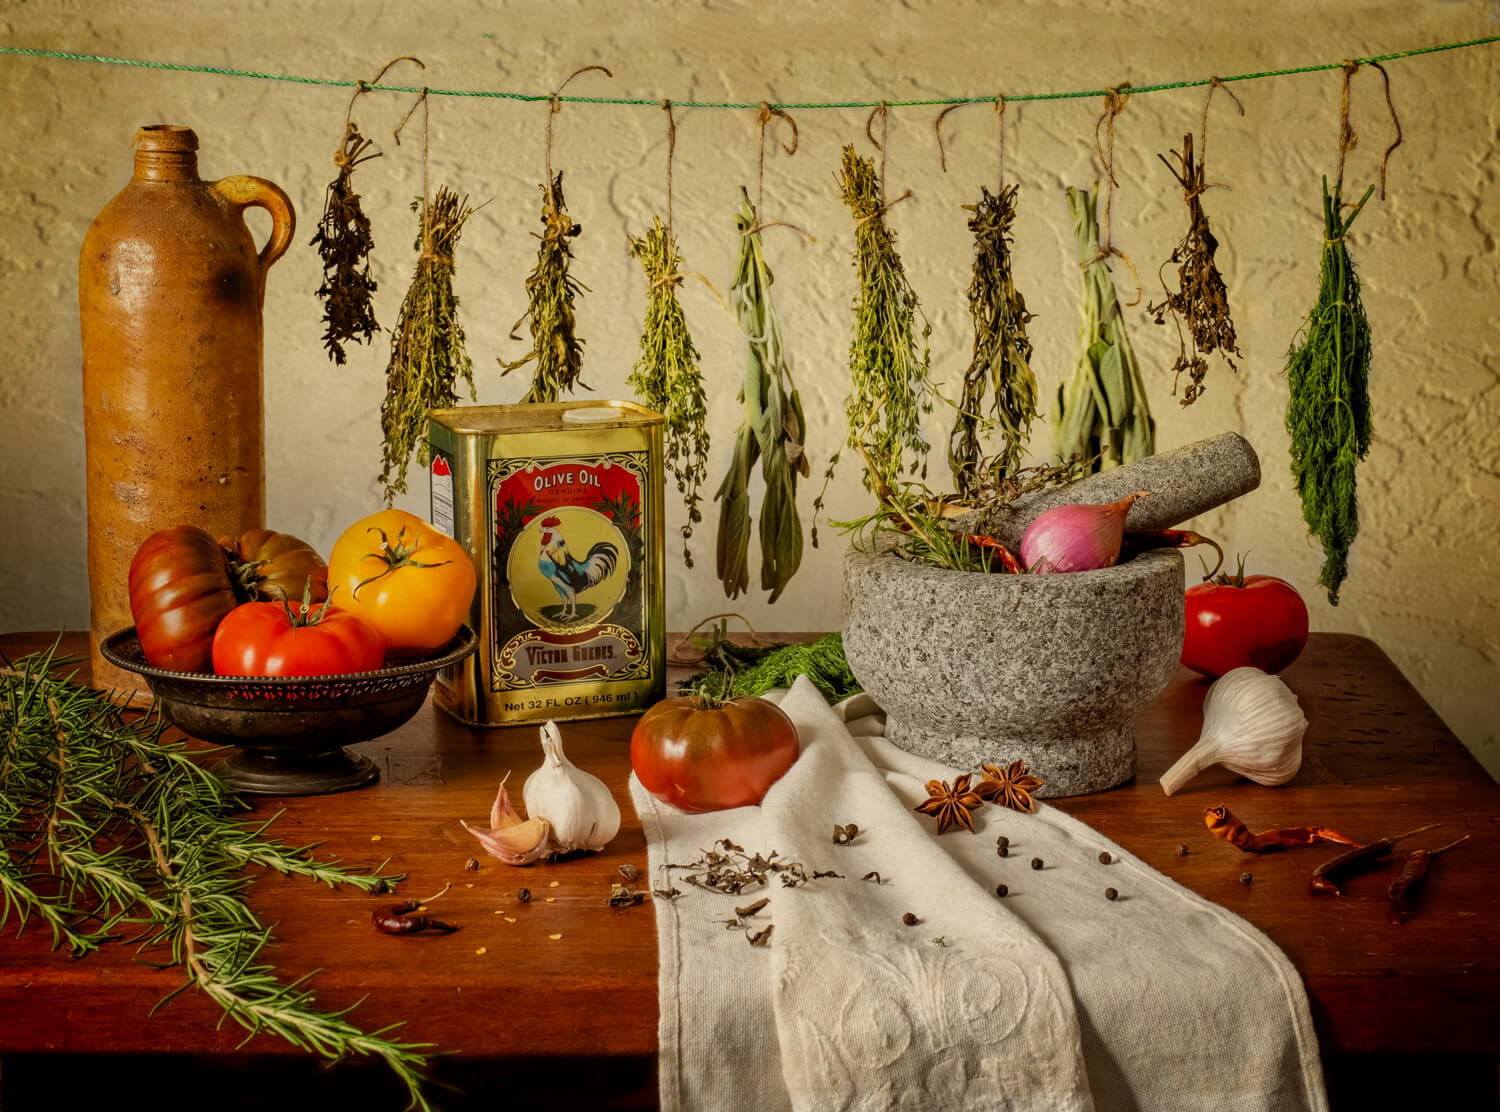
Bright & Airy — Add Refreshing Feel to an Image

To get a picture that looks bright and soft, you need a white floor drop and big white boards. You can beautify a white floor drop by adding things like white tablecloths, crumpled white paper, lace, or anything else you can think of.
Create a setup by placing a subject in front of the window. Tilt it a bit so the light comes from the side and not from behind. Get some big white boards or foldable reflectors that can bounce the window light onto the front of the subject.
Even Lighting — For Vanilla-Style Pictures

For this type of lighting for still life photography, you can put together a simple light box next to your window. You only need two big white boards (or a white foldable reflector). If you don’t want a white background, then you’ll just need one foam board and any background.
To get a lifelike picture with proper lighting, place a white reflector parallel to the window, and bring it as close to your subject as possible without it showing up in the photo.
To make the lighting even smoother, I prefer using a white backdrop that reflects light onto the back of the subject. If you want to show your home in the picture, you can proceed without using a particular backdrop. Alternatively, you can pick a backdrop with a medium tone and some texture, like a board covered with fabric or textured wallpaper.

The more distant the background is from your object, the fewer shadows will appear on it. You can also angle the backdrop slightly so that its upper part leans backward a little. Doing so, you will decrease shadows by bouncing light upwards as well as forwards.
Tips for Adjusting Still Life Photography Lighting
Avoid combining different lighting types. When taking photos in natural light, make sure that any other indoor lighting is turned off, as it can interfere with the white balance, ultimately altering the colors and mood in the image.
Don’t illuminate your subject directly from the front. This approach will result in a lack of lighting depth. If there are shadows that require filling up, utilize reflectors to redirect light onto those shadowed areas, effectively balancing the illumination.
Experiment with hard lights. Depending on the specific light and scene, employing this type of illumination can enhance the dramatic quality of your photographs. You can even utilize hard still life photography lighting to create intriguing framing effects around your subjects.

Use directional lighting. This photoshoot tip implies placing your light source to the side, illuminating one section of your still life scene brightly, while the other part will have distinct shadows. You can create directional lighting using studio equipment such as flashes or strobes, or you can take advantage of natural window light.
Consider the background. Attention-grabbing still life photographs has a background that harmonizes with the primary subject. This can be a plain white wall, a wall with interesting textures, or a single-colored curtain.
If the background appears excessively bright, more both the still life setup and the light a few feet forward, and possibly reposition the light to one side. If the background is too murky, take the opposite approach: relocate the setup closer to the background and/or adjust the light placement to ensure it directly illuminates the background.

Be mindful of your camera angles. Placing your camera straight in front of the scene while positioning the light to the side will result in pronounced side-lighting in the image. On the other hand, relocating your camera to be opposite the light source will yield backlighting, whereas situating your camera beside the light source will produce frontal lighting.